
July 2020
Hi Everyone!
I hope you are staying safe, healthy and busy embroidering fabulous projects!
The fluffles (wild bunnies) and I have been busy creating embroidery designs, tutorials and videos to help you create beautiful gifts and items for your family and home.
If you love the great outdoors recent additions to the Blue Bunny Hollow family of designs are the embroidery design collections called “Camping” and “Beach” which can be purchased at https://bluebunnyhollow.com/nature-seasons These fun embroidery designs will liven up towels, bags, t-shirts and more.

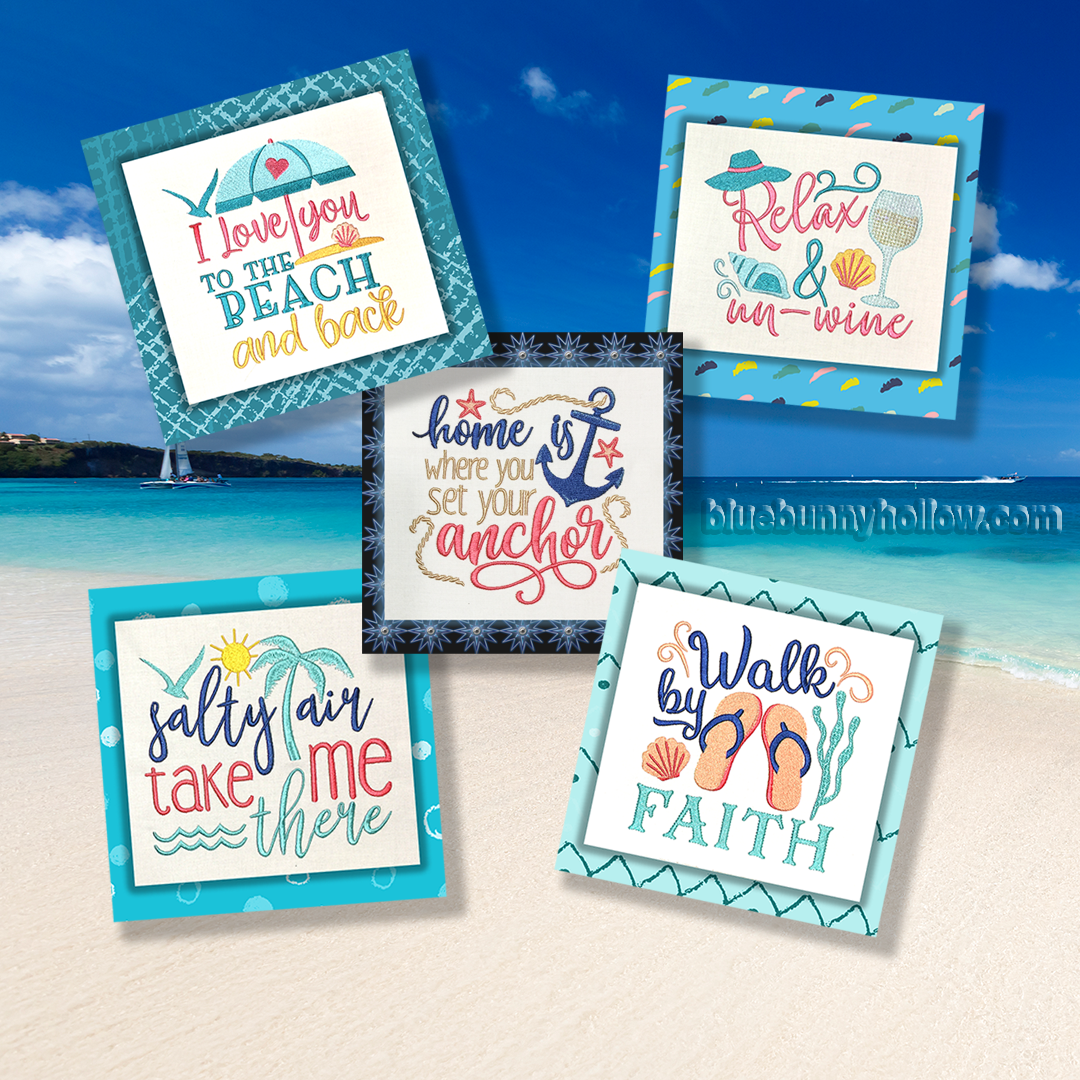
(NOTE: Background images are for display and not part of the embroidery file.)
NEW!! Check out the new technique of embroidering your sashings, borders and bindings with the same thread you are using in your embroidery designs. This gives you an amazing look to your projects. This set of designs fill the hoop so you will be able to cut and sew them together for the size you need, ie. 2 ½” for binding, 1 ½” for sashing, 3” for borders, etc. Or maybe you want to cut them up in squares, rectangles or circles as accent pieces…you have the ability to totally accentuate your projects in the style that you want! These can be purchased at https://bluebunnyhollow.com/bindings-borders-sashings. The samples in the pictures of quilted projects below were done for a presentation, for the company I work for, Quality Sewing and Vacuum. When we do these presentations, we use lots of fun new notions, books, patterns and designs. I am not able to always use my designs as we try to give you a wide and varied selection of merchandise. Since the designs cannot be purchased on this website, I have blurred them out to only show the borders, bindings and sashings.
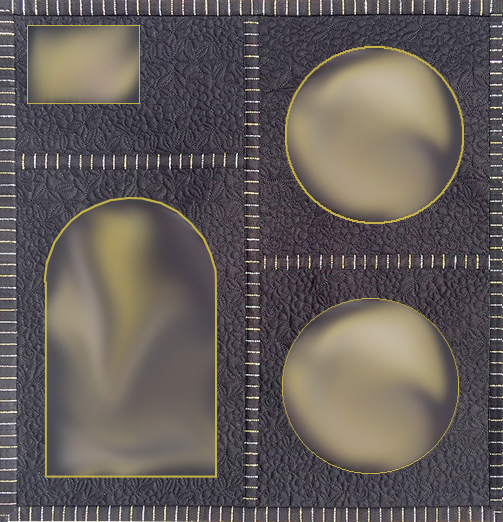
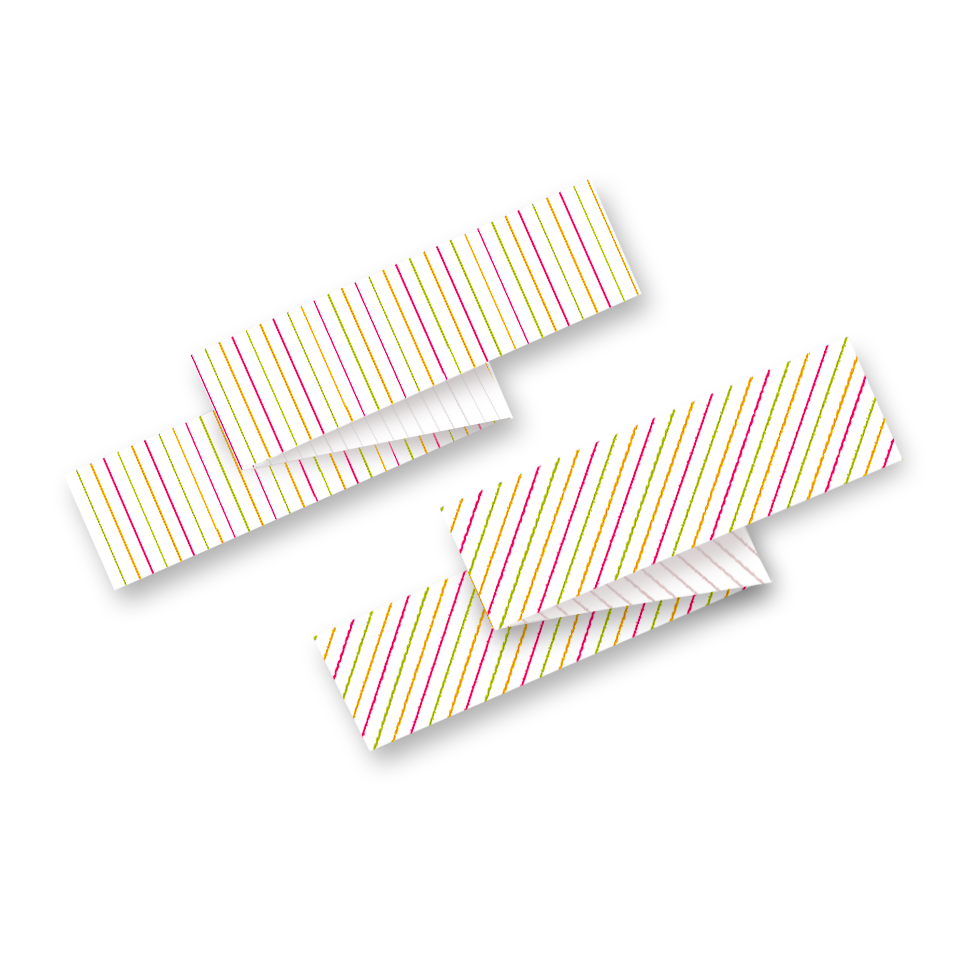
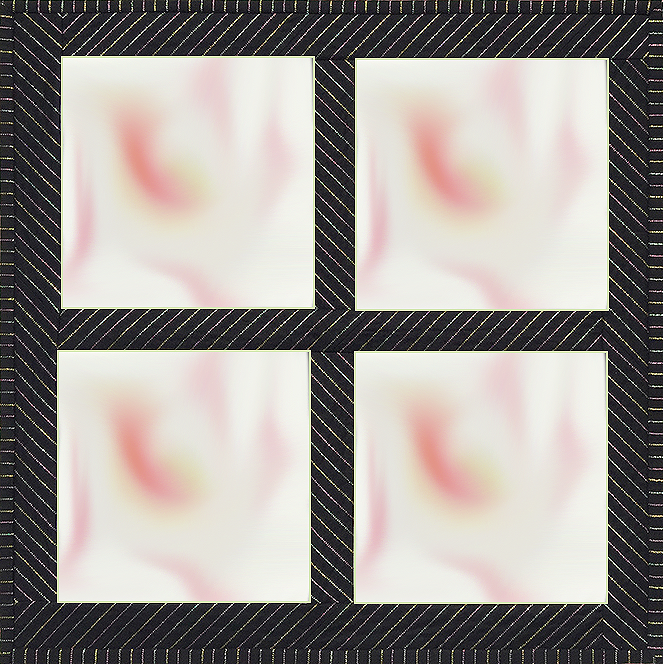
There will be more designs for borders, bindings and sashings coming soon.
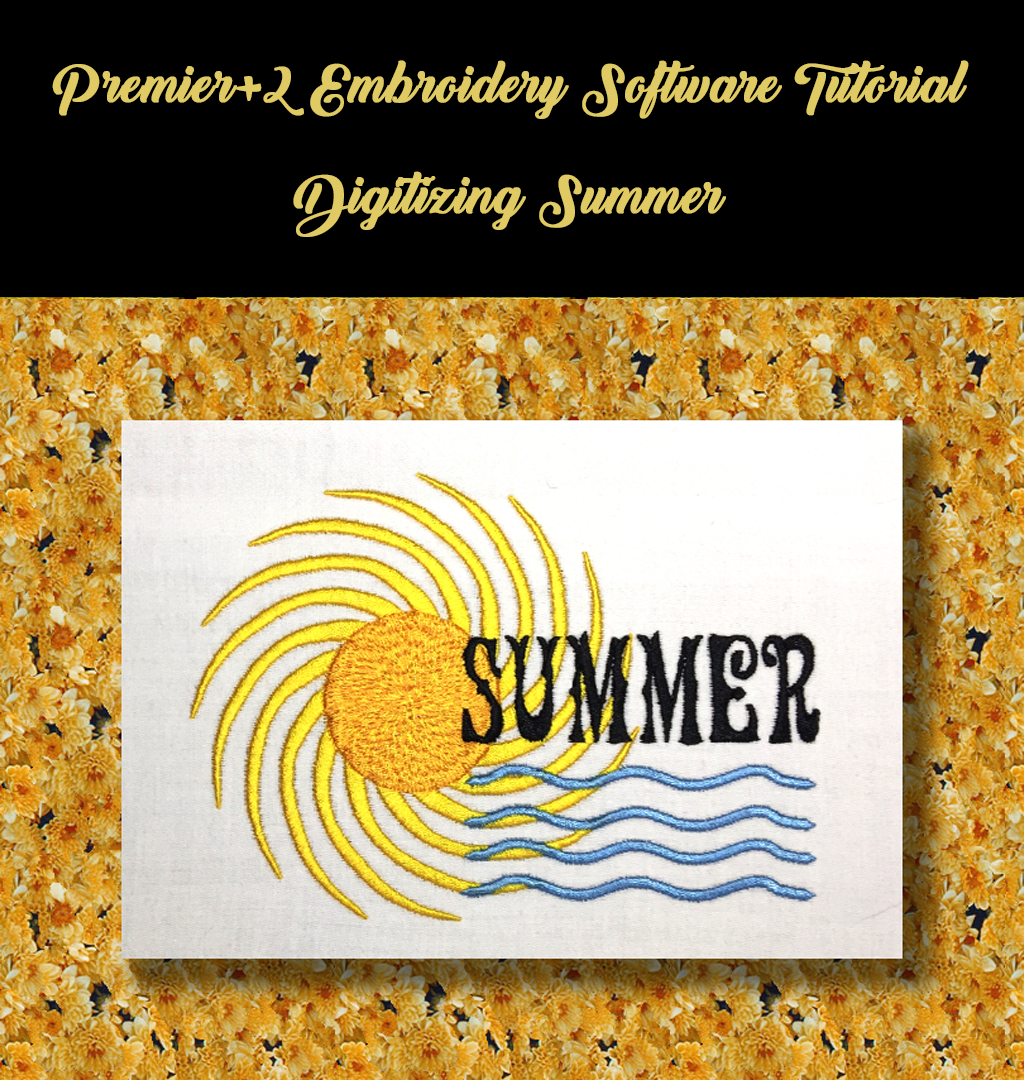
In the “Tutorials” section I have added Premier +2, step by step written instructions with step by step video. This tutorial is full of information, tips and techniques to help you learn and be skillful with the Premier+ 2 software. Beginner, Intermediate or Advanced, you will gain new knowledge to further your software adventures. PEDesign and Embellish Maker software tutorials will be ready soon. The instructions, “Digitizing Summer Tutorial” can be purchased at https://bluebunnyhollow.com/tutorials. Floriani Total Control U is also available.
New individual designs just released today are Summer Rain and Summer Word Art. For blog readers and email subscribers only…If you purchased Summer Word Art by the end of July, I will send you Summer Rain at no charge. You need do nothing as this will be sent (within 24 hours) to the email used from your order of Summer Word Art.

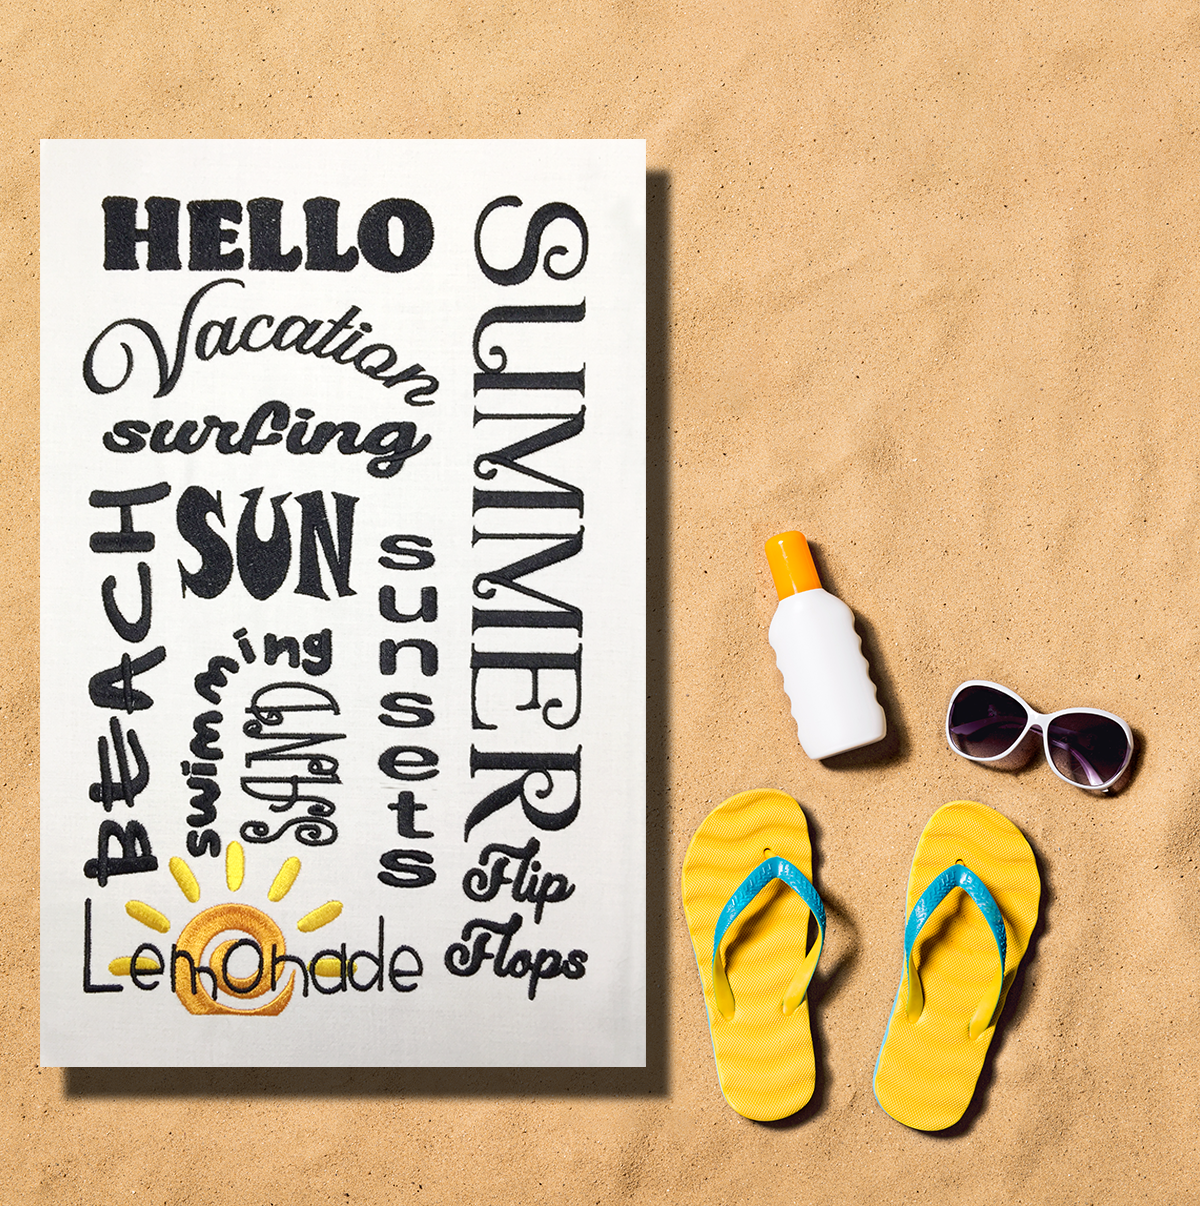
(NOTE: Background images are for display and not part of the embroidery file.)
Tips from the Hollow…
Stabilizer is necessary for our embroideries. But, wasted stabilizer is costly. Here are a couple of tips that I use to extend the use of my stabilizer.
Unless you absolutely have to, do not cut the stabilizer from the roll. After hooping, just unroll the stabilizer a bit and set it to the side of the machine or on the floor below the machine. Make sure you have unrolled enough so the hoop can move without restrictions. Then, when you un-hoop, cut the stabilizer next to the design, as you would normally. Depending on the hoop and design size, this could be a savings of 3” or more of stabilizer. I have discovered, that by the time I have stitched 3-4 more designs, I have saved enough stabilizer for another entire hooping.
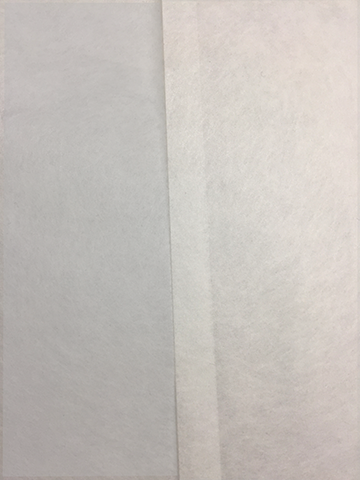
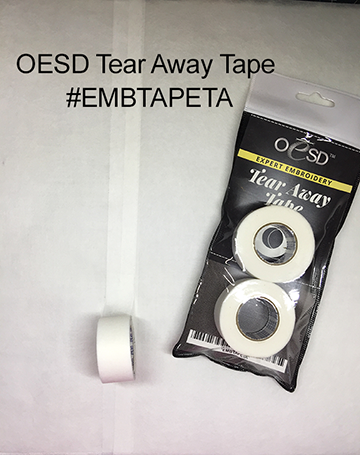
I do a lot of sample stitching and purchase a commercial size roll of tear away stabilizer that is 24” x 100 yards. I cut my sample fabric 12” by 60” (Width of Fabric - WOF). Since, I have to cut my stabilizer to fit this and I do not want to waste it, the stabilizer is cut 12” (Width of cut sample fabric) x 24” (Width of stabilizer roll). When I have a piece of stabilizer left, but it is not large enough for the hoop I am using, I simply tape on more. The tape I use for this is from OESD and is called Tear Away Tape (#EMBTAPETA). And, it does not gum up your needle. I do this with both tear-away and no show mesh stabilizers.
Process:
1. Overlap new stabilizer by about ⅜” to the straight cut end of the stabilizer.
2. Place the OESD Tear Away tape over the entire length of the seam. #OESD
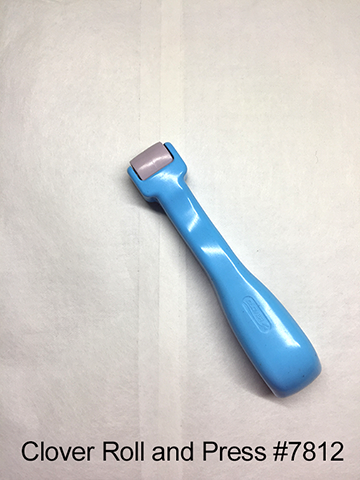
3. Using a Clover Roll and Press (#7812), or something similar, and roll over the tape to press it firmly to adhere it to the stabilizer. #clover-mfg
4. Place the fabric’s wrong side to the un-taped side of the stabilizer and then hoop. The taped side will be on the back side of the hooping and be against the throat plate when the hoop is placed in the machine. Then, do your next embroidery with no fear of the seam or tape catching on any part of your machine.
Enjoy your sewing adventures!
Lana, Head Fluffle
Jordyn, Fluffle Administrator, and the one that is the brains of the website
Fluffles (wild bunnies), usually causing trouble