October 2020
So glad you stopped by for a visit! Thank you!
October is Breast Cancer Awareness month and I have added a free design set for you to embroider. Please use this to raise funds for Breast Cancer Awareness. If someone wants this design, even though it is free do not share, please have them download it from my website. https://bluebunnyhollow.com/on-the-hollow.
It’s October and the holidays are marching closer and closer. So, you are probably deciding what to make, or have started making your holiday gifts. And, if you are a last minute “OMG” person, I have some great embroidery designs to help you.
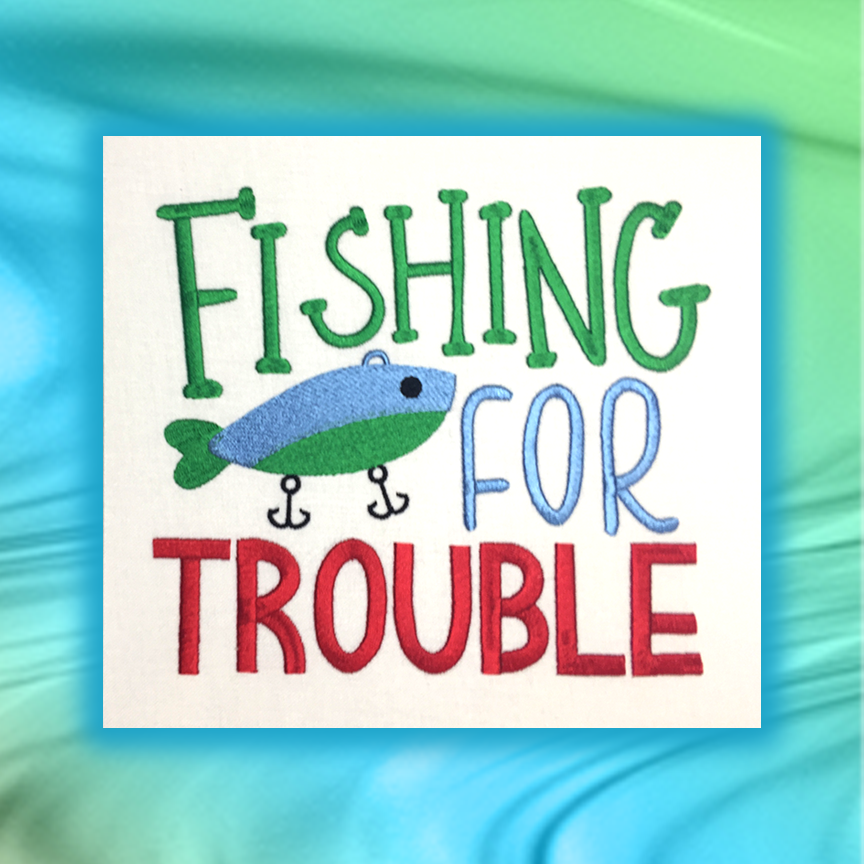
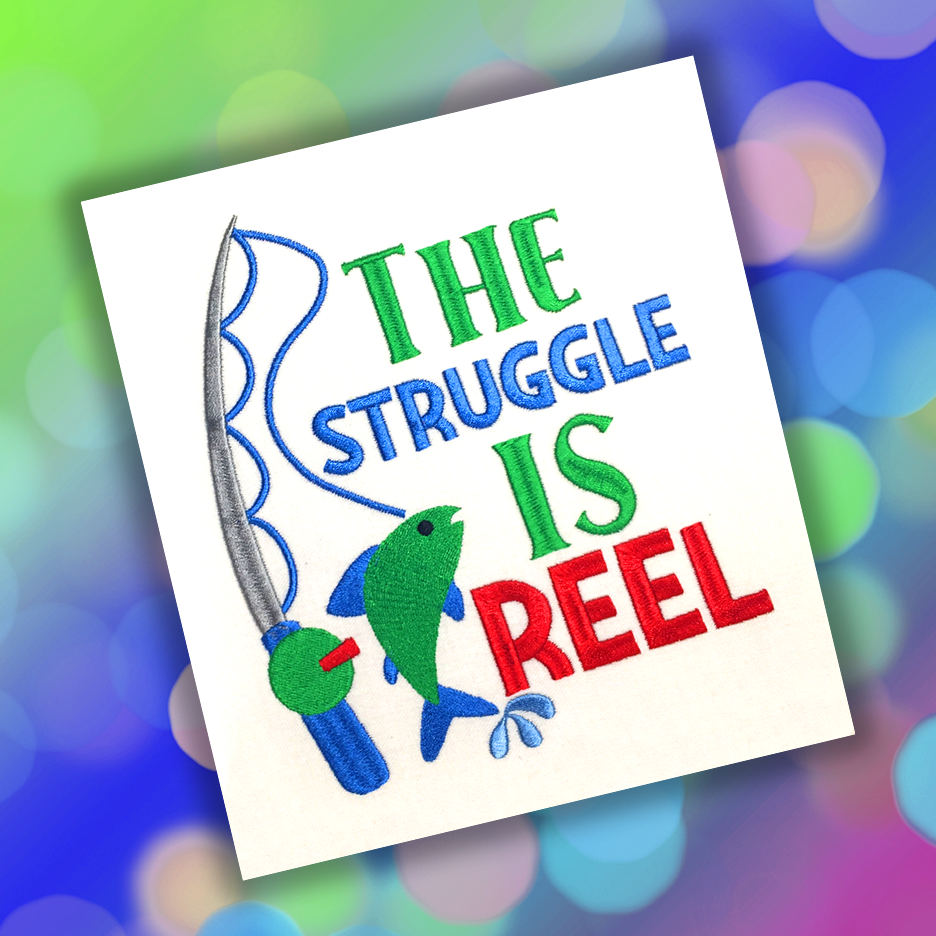
We are always looking for cute boy like designs. There is a plethora for girl like designs, but boy like designs…no so much. I have just released Fishing https://bluebunnyhollow.com/sports-and-fitness. This fun design set would be great for their t-shirts, a special placemat and more. If you have not embroidered a t-shirt before, or have not been too successful then check out my FREE instructions “How to Embroidery a T-shirt”. https://bluebunnyhollow.com/tutorials.

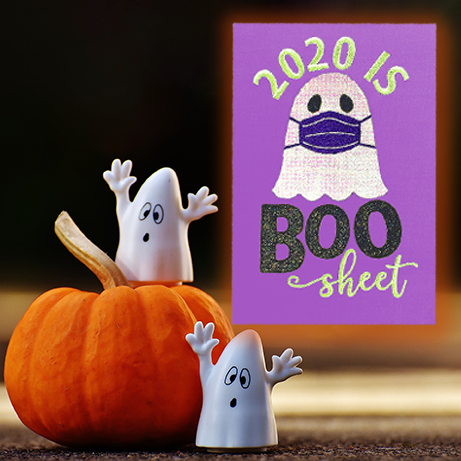
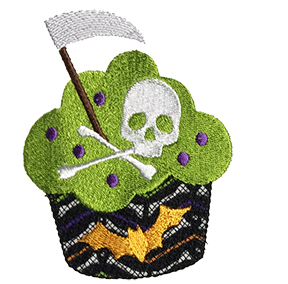
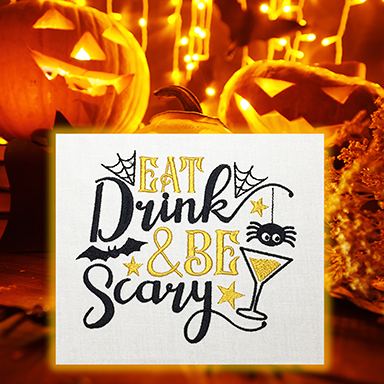
Ghosts, bats, pumpkins and witches are sneaking up on us…Halloween!!! This bewitching season is always a fun for the kids no matter what their age. The Fluffles (wild bunnies) and I have been very busy creating more designs for this delightful time of the year. Check these out at https://bluebunnyhollow.com/holidays.
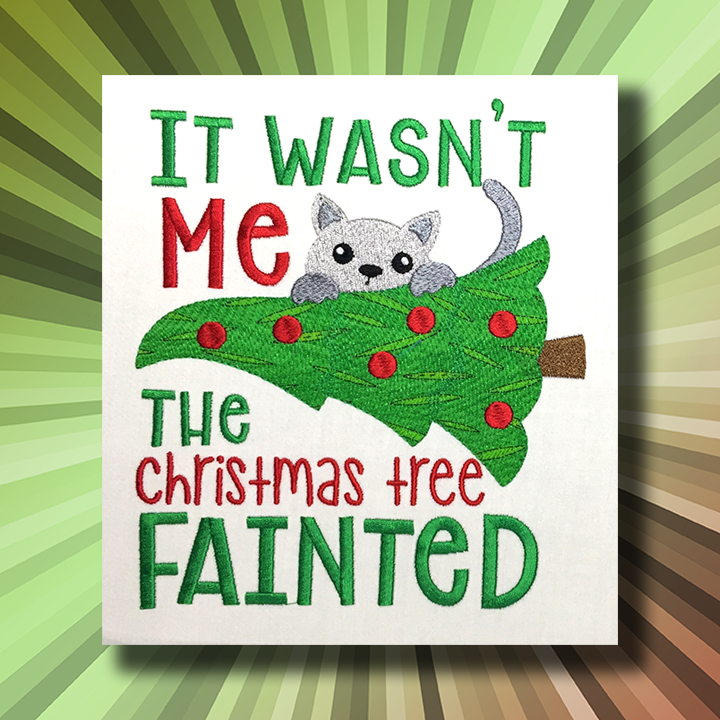
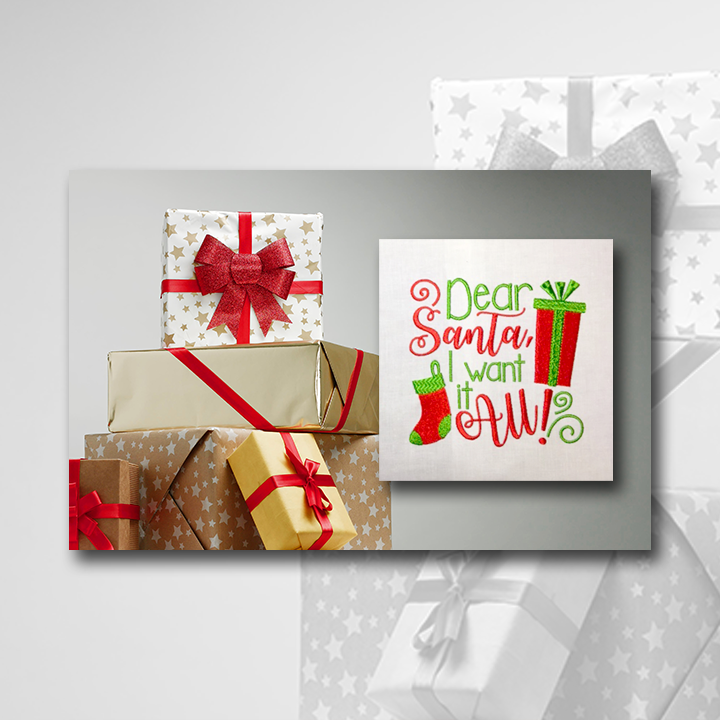
Oh Christmas Tree, Oh Christmas Tree…yes! It is on it’s way…the holiday that strikes fear into those who wait until the last minute to do their gift shopping, decorating, and cooking…well, I can’t help you with the cooking, but the gift shopping and decorating…I’ve got you covered. So start now, and get all your gifts embroidered, decorative embroideries done and then relax and enjoy your family and friends. We have many Christmas designs to choose from and new ones are being added all the time. Check them out at https://bluebunnyhollow.com/christmas.

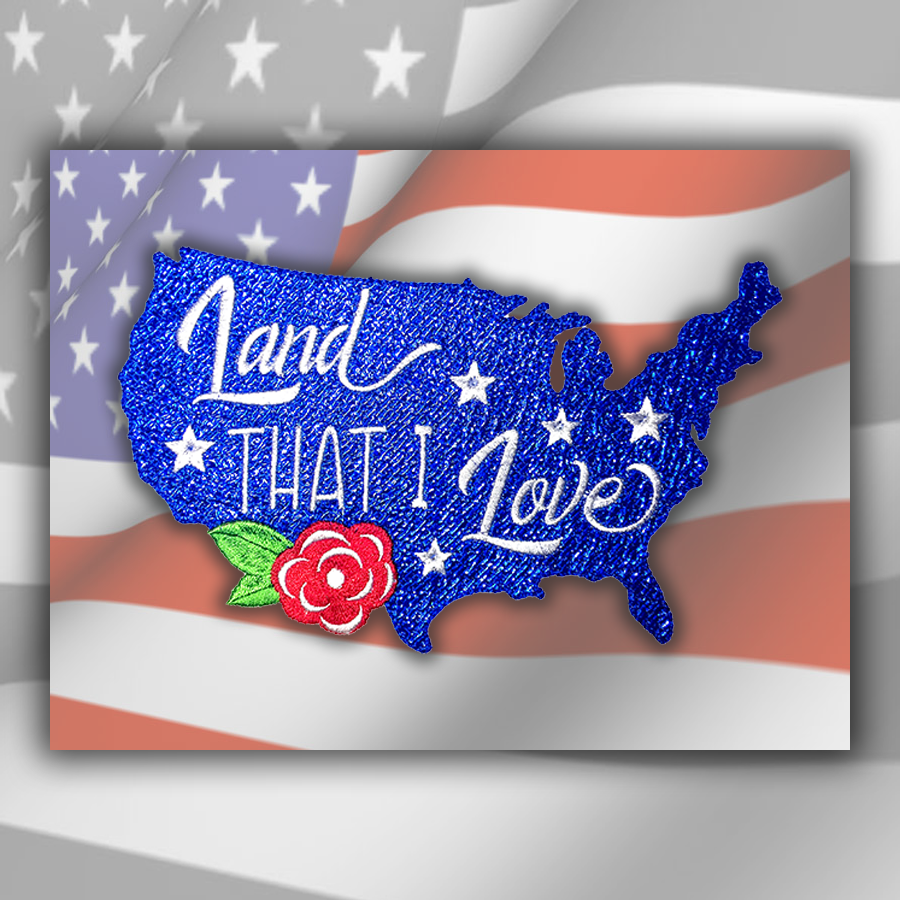
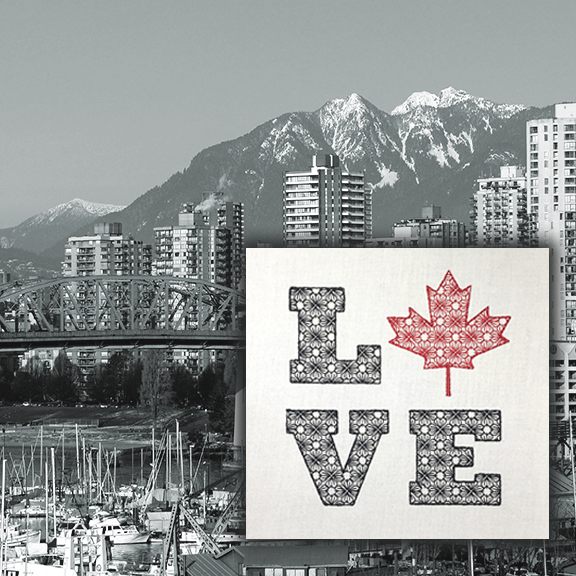
I love the USA, and I love our neighbors to the north, Canada, so I have added 2 great designs to show that off.
Today’s Tip from the Hollow…
Today we will talk about easy quilting. I know some of you are avid quilter’s and some of you are just beginning. However, we all, no matter the skill level, at some point need to quilt our project quickly and easily with great results. Some of you may not no how or like free-motion quilting and just looking for something that will make your quilt look fabulous. Straight stitching lines and cross-hatching are both quick and easy to do and your quilt will look great!
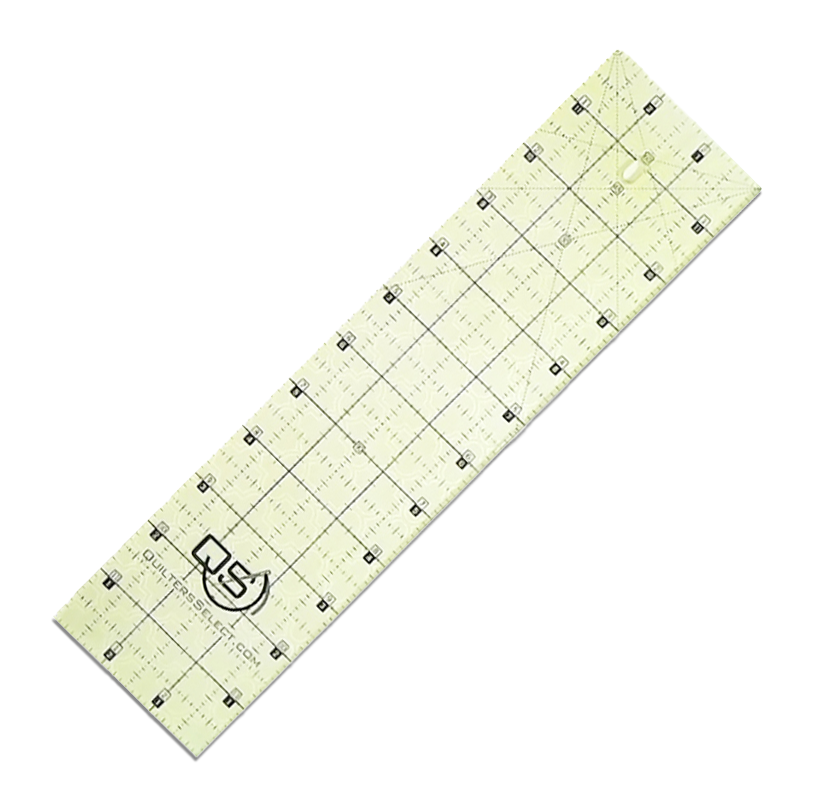
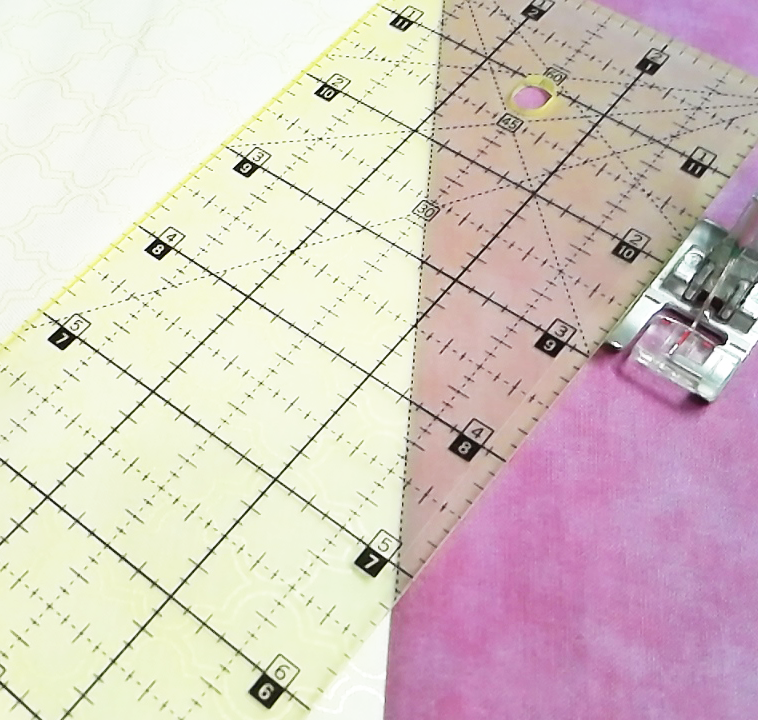
Start by purchasing Quilter’s Select Rulers. There are 2 sizes I recommend for quilting. The standard Quilter’s select ruler, 3 ½” x 12, pictured in Step 7, and the Precision Quilting Ruler, 2” x 8”. These rulers have a non-skid coating on the back with great easy to read markings. And, the numbers run both ways so you are not constantly turning your ruler around.
Embroider and sew your blocks together. Then sandwich backing, batting and your embroidered top. It is your choice to pin or spray baste your layers together. I am a spray baster.
Quilting a straight line, cross-hatching, etc., isn’t always easy, and at times we have a slip or two that we have to un-sew. Using the Quilter’s Select Rulers eliminates this frustration, because we will stitch along the edge of the ruler for a perfectly straight line…AND…the ruler is not going to slip. Yes!
1. First determine where you want the stitching to be and how far apart you want the lines of stitching if you are doing multiple lines, as in cross-hatching.
2. Mark your first line, use a seam line or previous line of stitching.
3. Select your favorite sewing foot.
4. Measure from the needle to the left edge of the foot. In many standard feet, this will be 3/8”.
5. Now we need to do the math. Let’s use 1” separation between lines of stitching. With the measurement from Step 4, we will add ⅝” to equal 1”. NOTE: Your measurement may not be the same if your “needle to foot edge” is different, so adjust numbers as needed for your foot choice.
6. Place the ⅝” mark of the Quilter’s Select Ruler on the line you are using from Step 2. Make sure it matches the length of the ruler.
7. Set your foot next to the right edge of the Quilter’s Select Ruler.
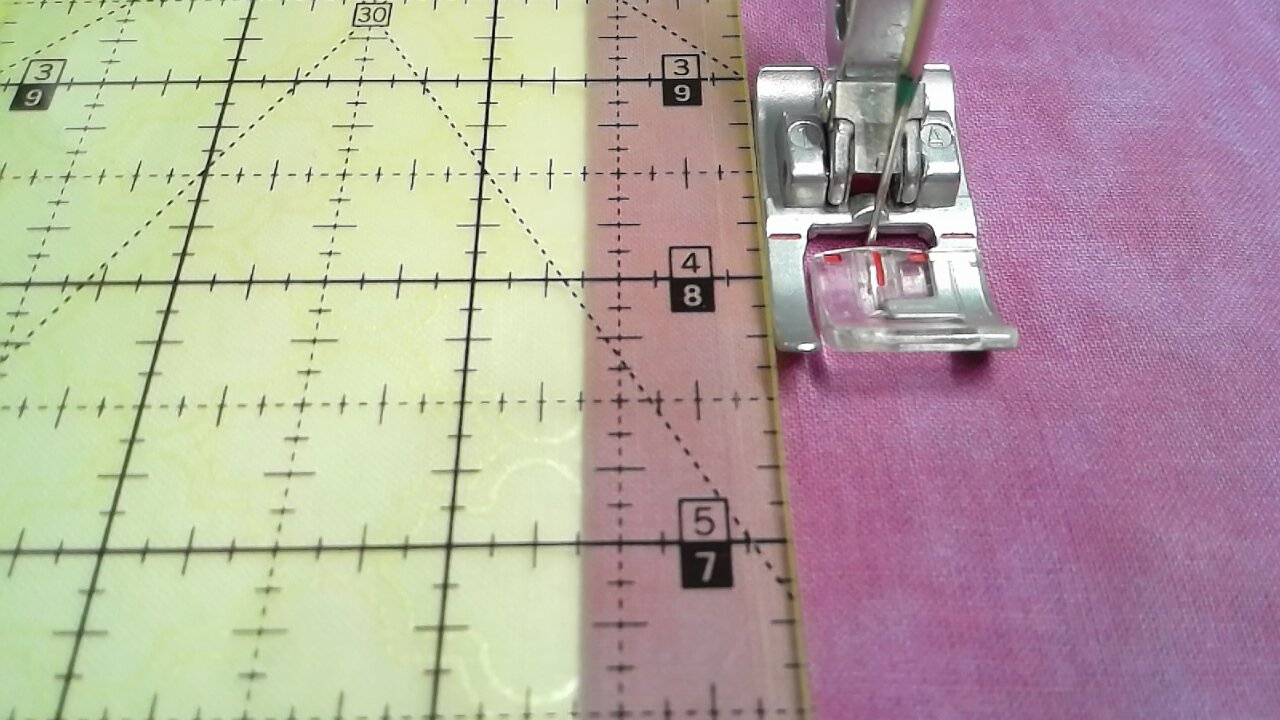
8. Set your machine for needle down, if you have that feature. This ensures you keep your place when you stop and move the ruler for long lengths of stitching.
9. Sew, keeping the foot snugged up against the edge of the ruler. The Quilter’s Select Ruler will not shift.
10. If you have a long length to stitch, stop when you reach the end of the ruler, move the Quilter’s Select Ruler, match the lines, and continue stitching.
11. If you want your stitching line to be at an angle, the use the 30°, 45°, or 60° marked angles on the Quilter’s Select Ruler.
12. Place the angle you want along the marked line from Step 2 and stitch the first line.
13. Continue as you did before and stitch the remainder of your lines.
14. How cool is that!
That is all I have for you today. Please take the time to peek around the website as there are some amazing designs, tutorials and products for sewing and embroidery projects! And, or those of you who have taken the time to read my blog, here is a 20% off discount code that can be used on your entire order on Blue Bunny Hollow. This is a one-time use code so make sure you get everything you want! CODE: READ (expires October 31st.)
Enjoy your sewing adventures!
Lana, Head Fluffle
Jordyn, Fluffle Administrator, and the one that is the brains of the website
Fluffles (wild bunnies), usually causing trouble