
Happy New Year
Happy New Year to all!!! And I hope you had a blessed Christmas.
The new year is almost here…super excited on what is in store for bluebunnyhollow.com. We will start the year with a daily free letter/number from the alphabet FIESTA. I will post on my Facebook page facebook.com/BlueBunnyHollow the letter/number of the day. NOTE: The numbers will be sprinkled in so some days there will be both a letter and a number that will be available to download for FREE. Each letter /number will be free for 2 days so you have plenty of time to download your free design. To help a little with the cost of the free set, I ask that you purchase the vowels which will include a question and an exclamation mark. The normal price if purchased separately would be $1.99 each, but for this promotion, this set will be only $1.99…that’s all…$1.99 for all 5 letters, question and exclamation mark. But really, when you do the math…you are getting 26 letters, 10 numbers, question and exclamation marks in 2 sizes 2” and 1” for $1.99. That makes each design less than 3¢ each! What an extremely good deal!
This will start on January 4th. The numbers will be given away sporadically so there will be some days that both a letter and a number will be available so make sure you check daily.
Below are digital examples of what can be done with the letters…
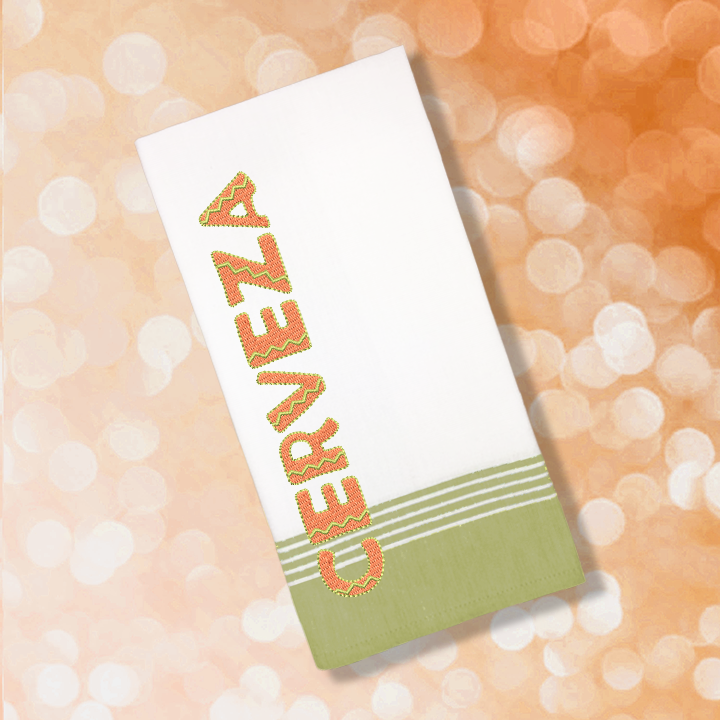
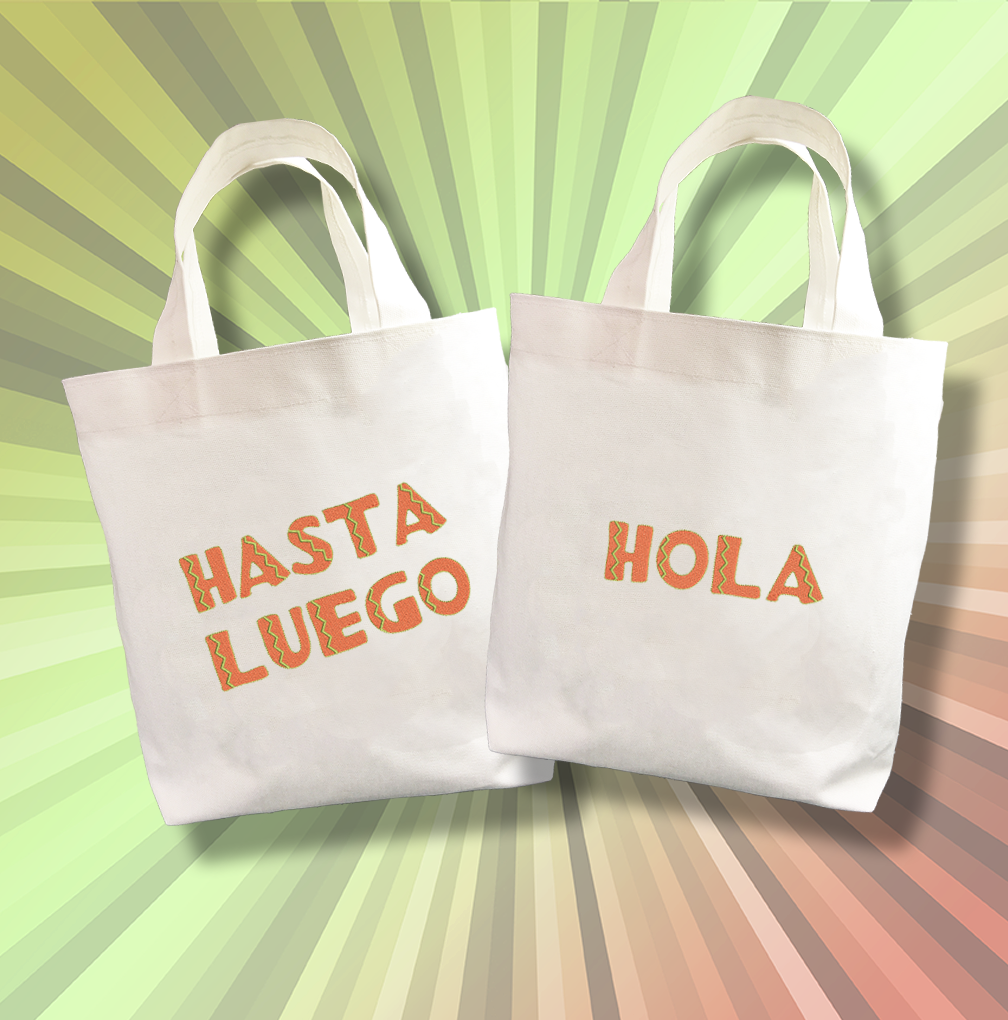
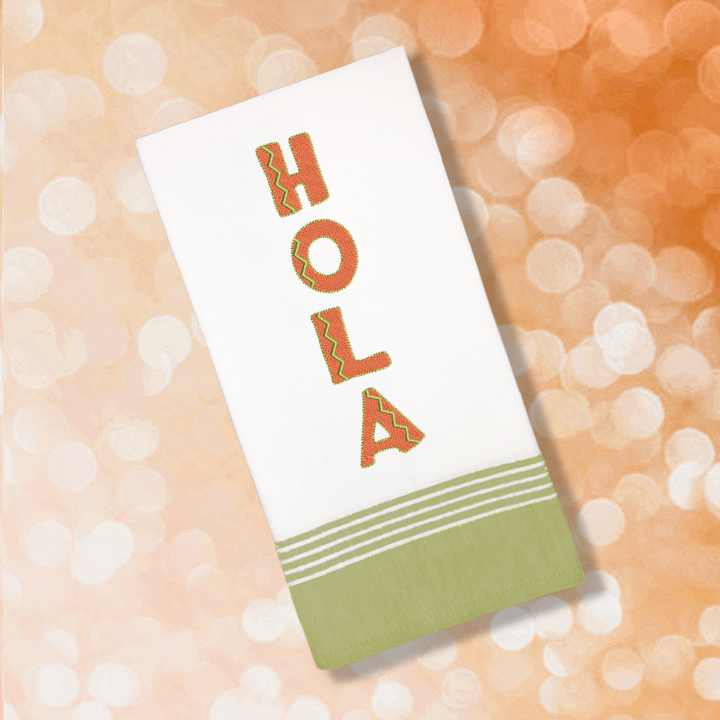

I hope you enjoy the free set of designs and come often to download them all.
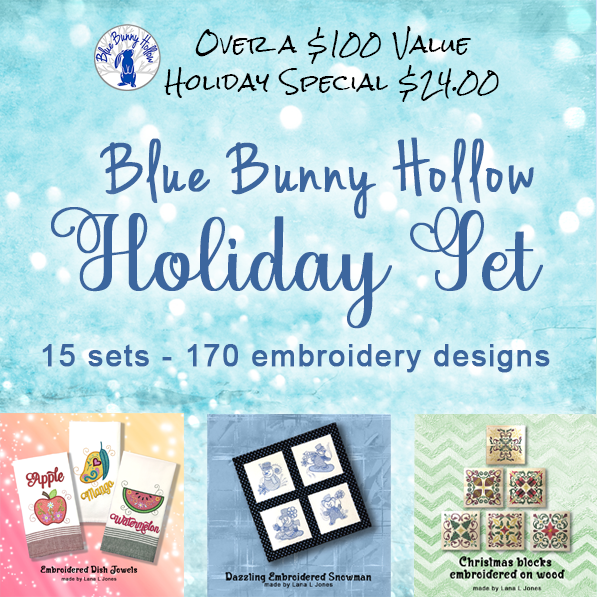
And don’t forget, Blue Bunny Hollow Holiday Set is still available at Quality Sewing’s website https://www.qualitysewing.com. Over $100 worth of designs, Christmas and designs that you can use throughout the year for $24. Another great deal from bluebunnyhollow.com! These designs will be available on my website, but not as a set, and not for this price. It is only available at Quality Sewing’s website for this great price. So, don’t delay…it won’t be there much longer!
Enjoy your sewing adventures!
Lana, Head Fluffle
Jordyn, Fluffle Administrator, and the one that is the brains of the website
Fluffles (wild bunnies), usually causing trouble

Merry Christmas!!! 2020
Hi Everyone!
The holidays are here! Are you ready? I have been busy creating lots of embroidery designs, making gifts and drinking coffee…Isn’t that what we do in the Northwest??
Lots of new and exciting designs at bluebunnyhollow.com. And, the 2020 Mannequin has been posted…and it is FREE until the end of the year. 2018 and 2019 are available for $1.99 each. These can be found at https://bluebunnyhollow.com/christmas.
But the most exciting is good and bad…We will do the bad first…Many of you know I work for Quality Sewing and every year we have our Christmas Open House. Our wonderful customers bring in their show and tell to amaze and inspire everyone with their talent. We have a game and lots of food and drink…always a good time…but this year we are unable to get together. Which is sad as we cannot see your beautiful items in person. But…the good news…we will have a Virtual Christmas Open House, just like we have been doing with our monthly Sew Fun Presentations. Since we cannot feature our customers projects, each Educational Consultant picked a project to do for you to enjoy some great projects!
The even bestest news is I have put together a collection of brand new designs for the holidays…this set includes Christmas designs as well as designs for gifts, in-the-hoop projects, mylar, applique, embroidery on wood projects and much more, that can be embroidered any time of the year.
There are 14 collections and one bonus collection for a total of 15 sets. There are 170 designs total.
If you purchased all these designs from my website separately, it would cost over $100. But, for this event, the set is $29.99…and with the Sew Fun discount will make it just $24.00. That’s right! Just $24.00. Don’t worry if you are a regular purchaser from my website as these are all brand new designs that will not be on the website until after the Virtual Christmas Open House. But they will be listed as individual sets…You can only purchase this as a set through the Quality Sewing Website starting the day of the broadcast. It will be an instant download so you can start embroidering projects right away. Date: December 10th at 11:00am. See flyer below.
Don’t miss it, but if you do, it will be on Quality Sewing’s Facebook page and on their YouTube channel.
If you got to the presentation because of this blog post, give Blue Bunny Hollow a shoutout so I can see if anyone actually read this far…LOL!!! See you virtually on December 10th!!
Merry Christmas and Happy New Year!

October 2020
So glad you stopped by for a visit! Thank you!
October is Breast Cancer Awareness month and I have added a free design set for you to embroider. Please use this to raise funds for Breast Cancer Awareness. If someone wants this design, even though it is free do not share, please have them download it from my website. https://bluebunnyhollow.com/on-the-hollow.
It’s October and the holidays are marching closer and closer. So, you are probably deciding what to make, or have started making your holiday gifts. And, if you are a last minute “OMG” person, I have some great embroidery designs to help you.
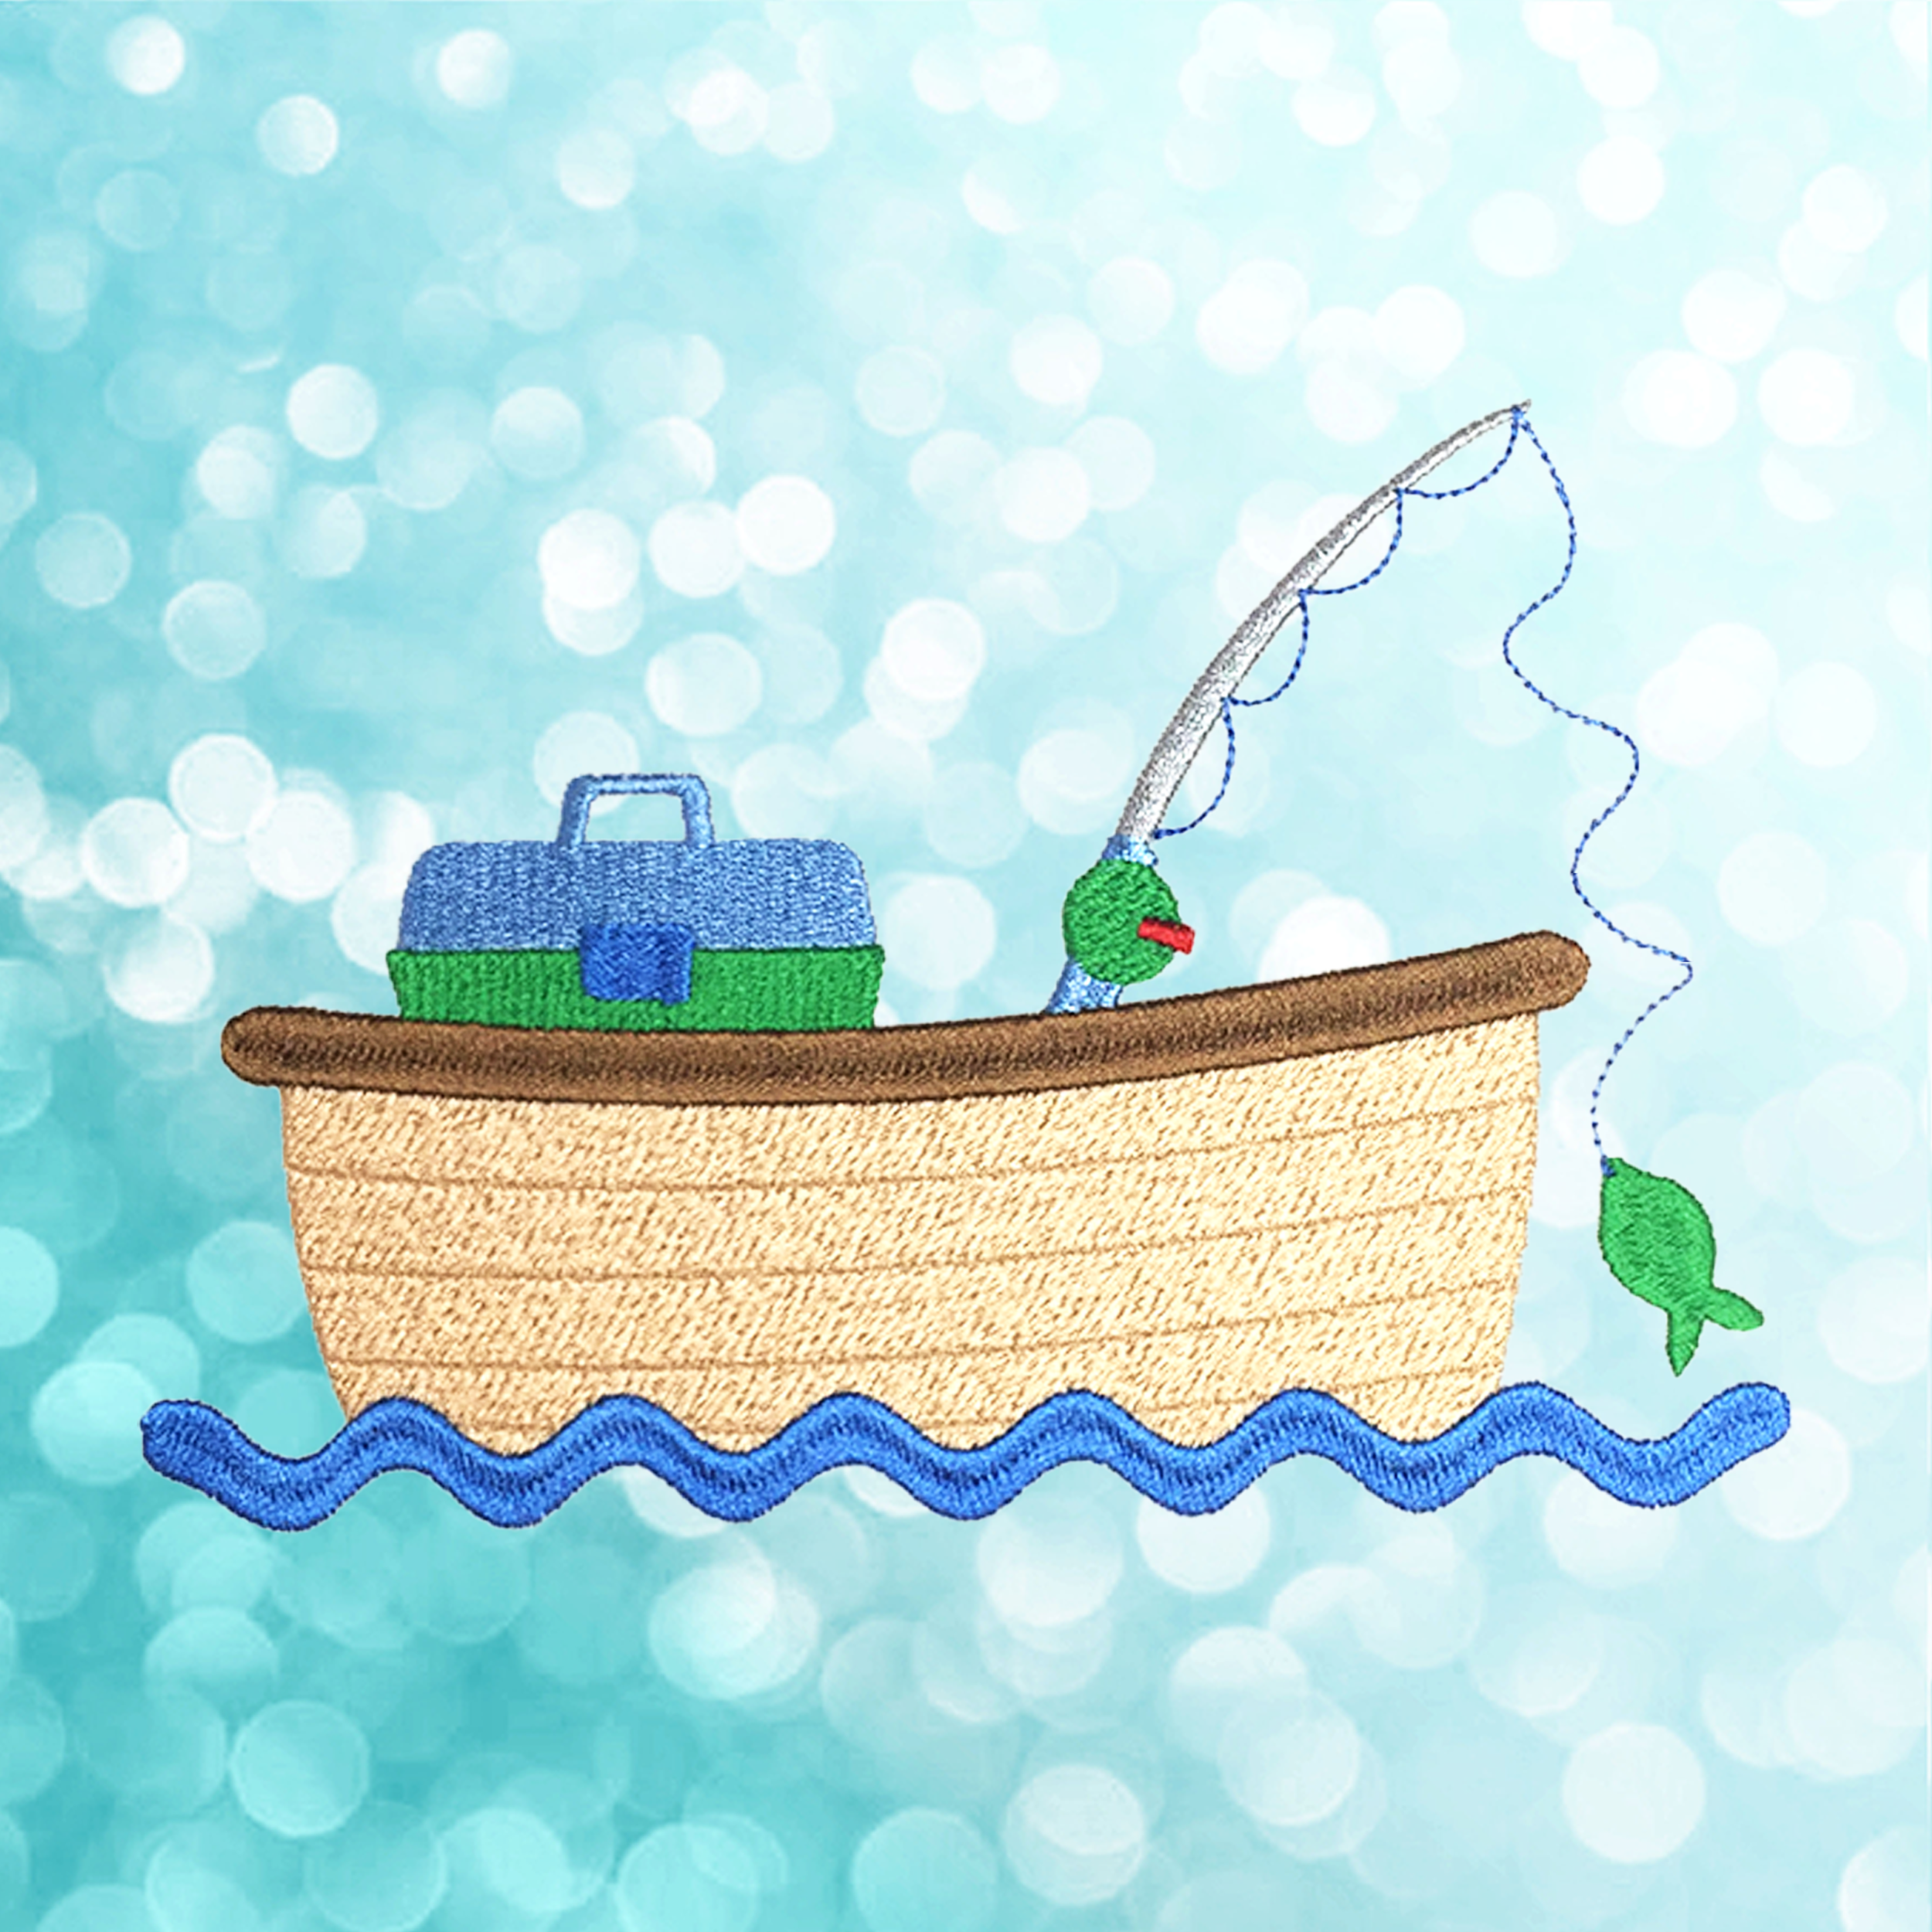
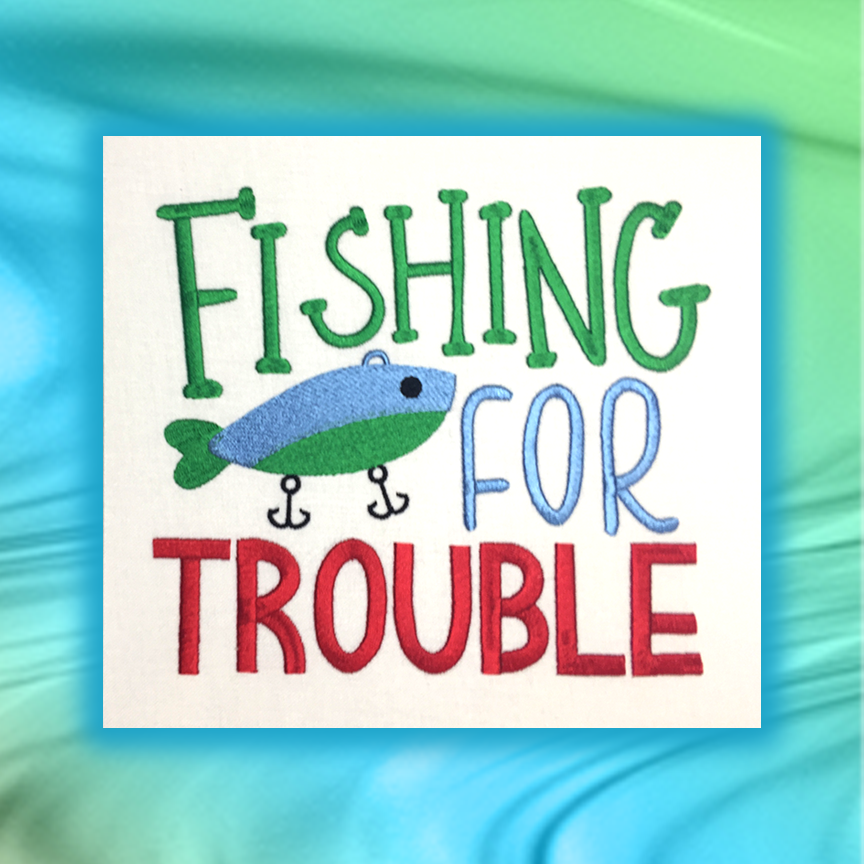
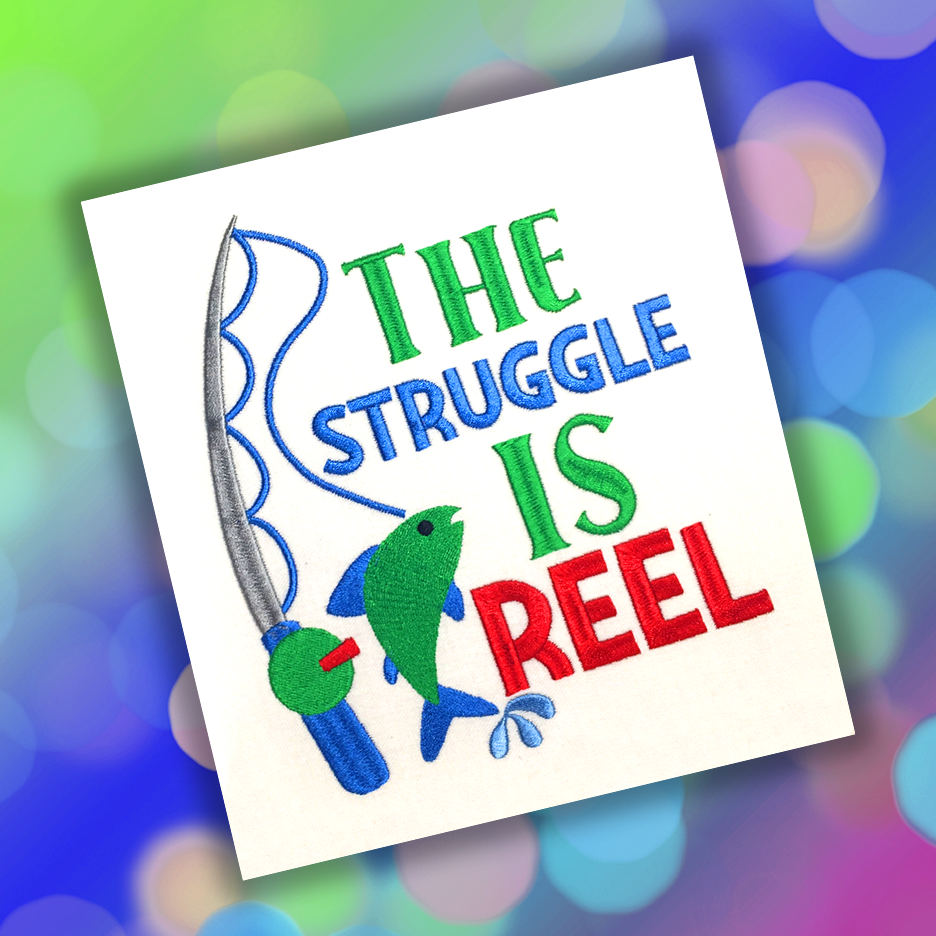
We are always looking for cute boy like designs. There is a plethora for girl like designs, but boy like designs…no so much. I have just released Fishing https://bluebunnyhollow.com/sports-and-fitness. This fun design set would be great for their t-shirts, a special placemat and more. If you have not embroidered a t-shirt before, or have not been too successful then check out my FREE instructions “How to Embroidery a T-shirt”. https://bluebunnyhollow.com/tutorials.
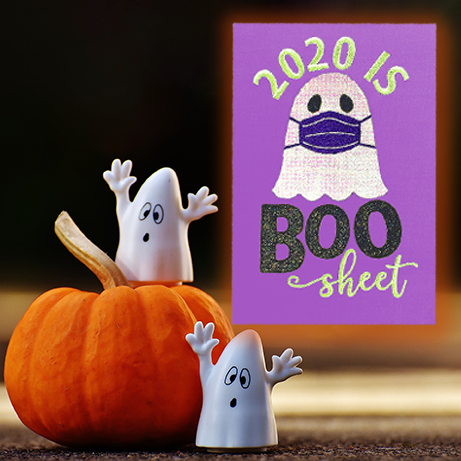
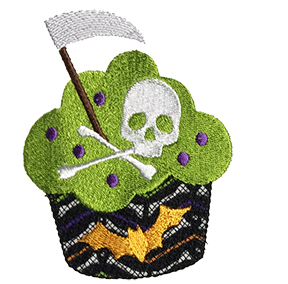
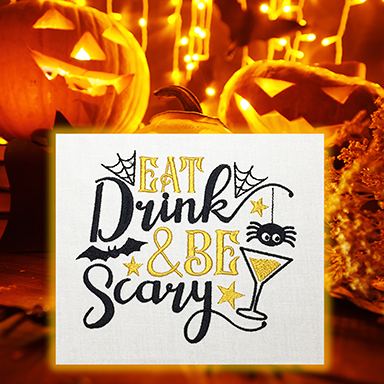
Ghosts, bats, pumpkins and witches are sneaking up on us…Halloween!!! This bewitching season is always a fun for the kids no matter what their age. The Fluffles (wild bunnies) and I have been very busy creating more designs for this delightful time of the year. Check these out at https://bluebunnyhollow.com/holidays.
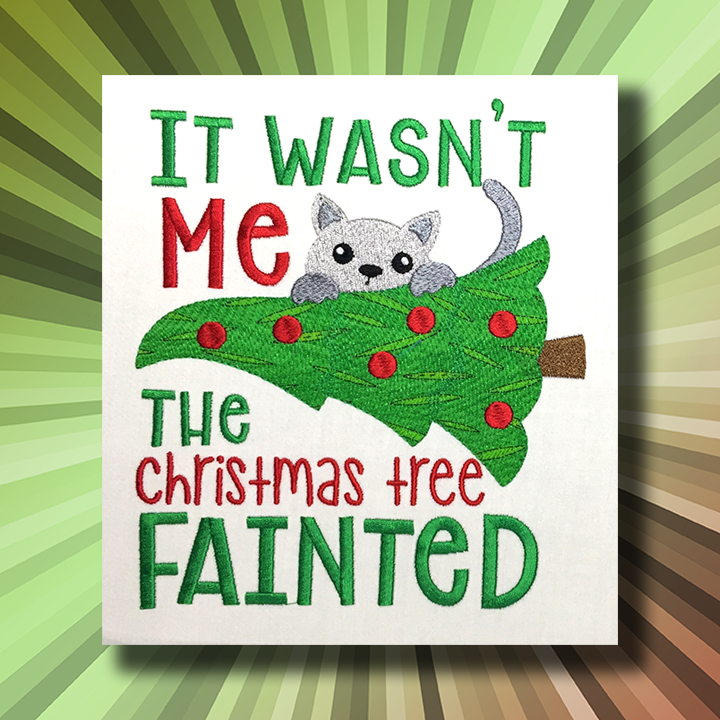
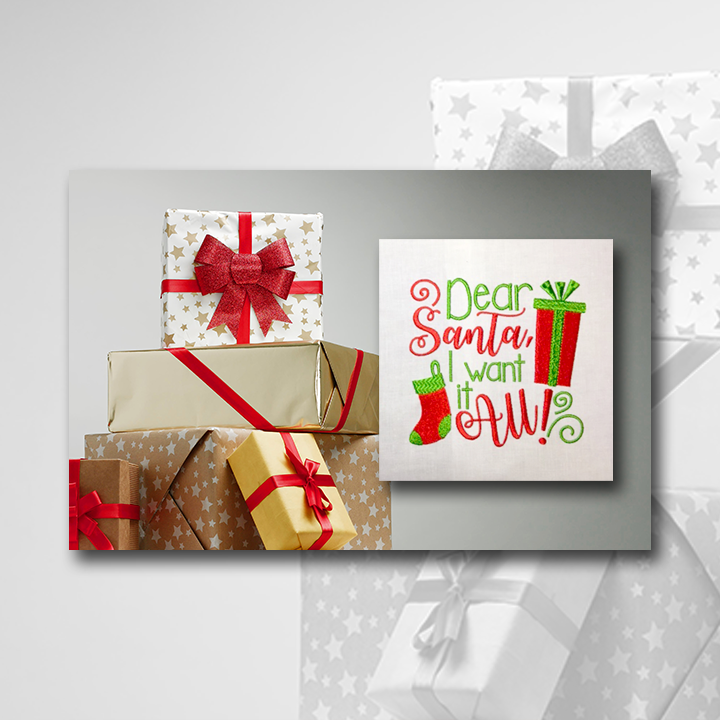
Oh Christmas Tree, Oh Christmas Tree…yes! It is on it’s way…the holiday that strikes fear into those who wait until the last minute to do their gift shopping, decorating, and cooking…well, I can’t help you with the cooking, but the gift shopping and decorating…I’ve got you covered. So start now, and get all your gifts embroidered, decorative embroideries done and then relax and enjoy your family and friends. We have many Christmas designs to choose from and new ones are being added all the time. Check them out at https://bluebunnyhollow.com/christmas.
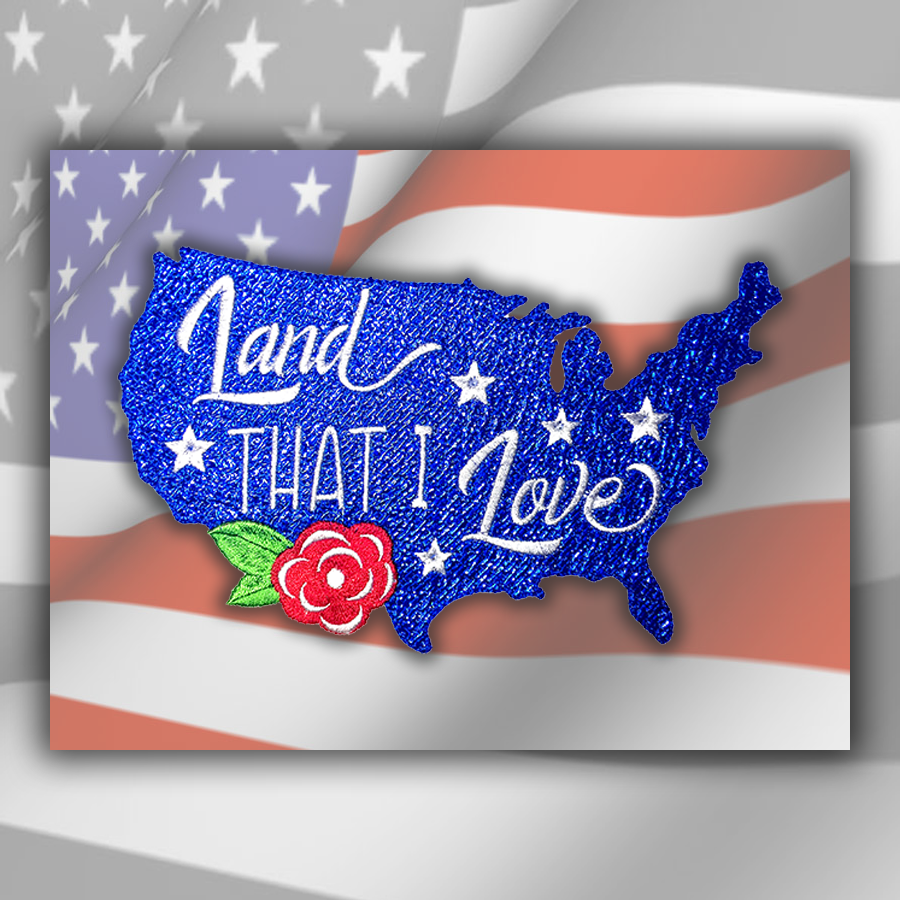
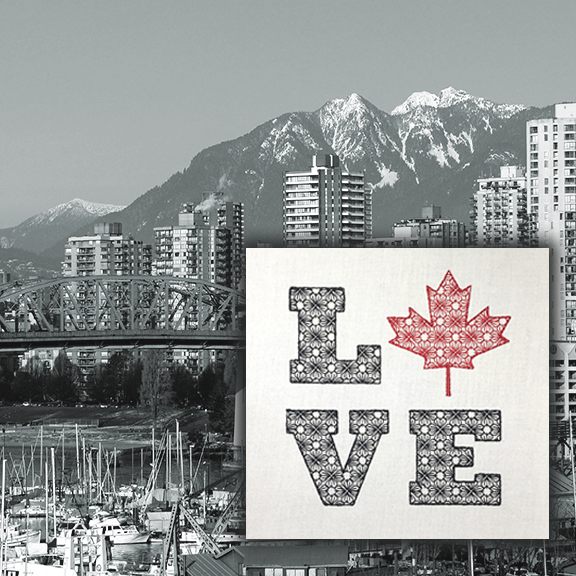
I love the USA, and I love our neighbors to the north, Canada, so I have added 2 great designs to show that off.
Today’s Tip from the Hollow…
Today we will talk about easy quilting. I know some of you are avid quilter’s and some of you are just beginning. However, we all, no matter the skill level, at some point need to quilt our project quickly and easily with great results. Some of you may not no how or like free-motion quilting and just looking for something that will make your quilt look fabulous. Straight stitching lines and cross-hatching are both quick and easy to do and your quilt will look great!
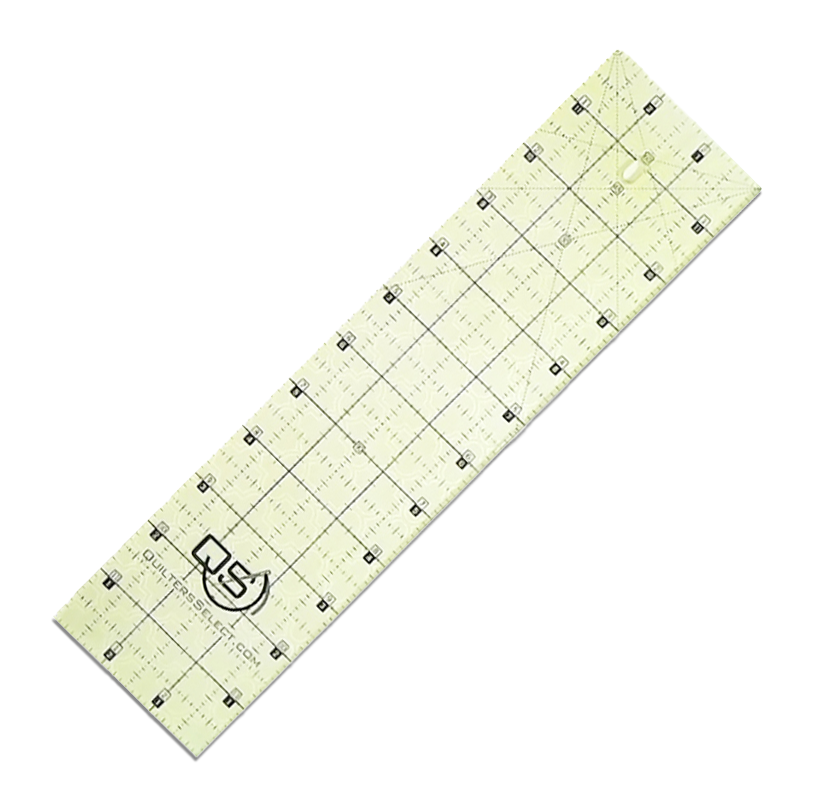
Start by purchasing Quilter’s Select Rulers. There are 2 sizes I recommend for quilting. The standard Quilter’s select ruler, 3 ½” x 12, pictured in Step 7, and the Precision Quilting Ruler, 2” x 8”. These rulers have a non-skid coating on the back with great easy to read markings. And, the numbers run both ways so you are not constantly turning your ruler around.
Embroider and sew your blocks together. Then sandwich backing, batting and your embroidered top. It is your choice to pin or spray baste your layers together. I am a spray baster.
Quilting a straight line, cross-hatching, etc., isn’t always easy, and at times we have a slip or two that we have to un-sew. Using the Quilter’s Select Rulers eliminates this frustration, because we will stitch along the edge of the ruler for a perfectly straight line…AND…the ruler is not going to slip. Yes!
1. First determine where you want the stitching to be and how far apart you want the lines of stitching if you are doing multiple lines, as in cross-hatching.
2. Mark your first line, use a seam line or previous line of stitching.
3. Select your favorite sewing foot.
4. Measure from the needle to the left edge of the foot. In many standard feet, this will be 3/8”.
5. Now we need to do the math. Let’s use 1” separation between lines of stitching. With the measurement from Step 4, we will add ⅝” to equal 1”. NOTE: Your measurement may not be the same if your “needle to foot edge” is different, so adjust numbers as needed for your foot choice.
6. Place the ⅝” mark of the Quilter’s Select Ruler on the line you are using from Step 2. Make sure it matches the length of the ruler.
7. Set your foot next to the right edge of the Quilter’s Select Ruler.
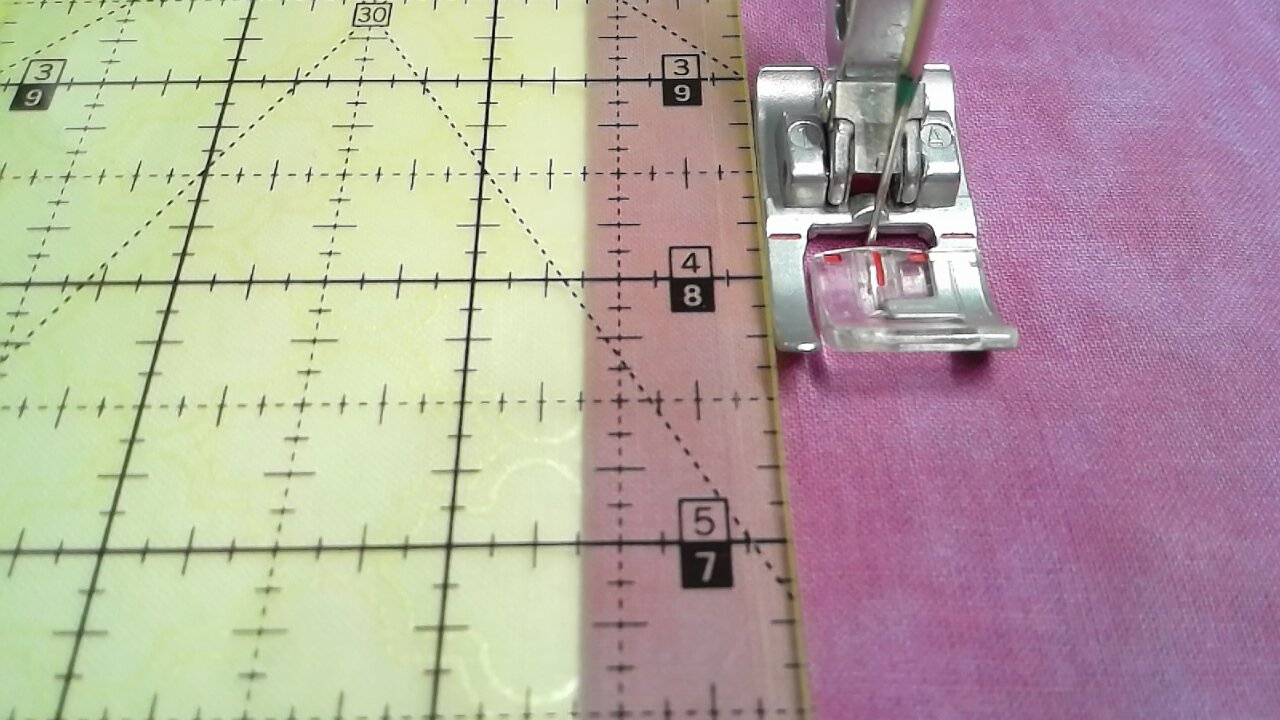
8. Set your machine for needle down, if you have that feature. This ensures you keep your place when you stop and move the ruler for long lengths of stitching.
9. Sew, keeping the foot snugged up against the edge of the ruler. The Quilter’s Select Ruler will not shift.
10. If you have a long length to stitch, stop when you reach the end of the ruler, move the Quilter’s Select Ruler, match the lines, and continue stitching.
11. If you want your stitching line to be at an angle, the use the 30°, 45°, or 60° marked angles on the Quilter’s Select Ruler.
12. Place the angle you want along the marked line from Step 2 and stitch the first line.
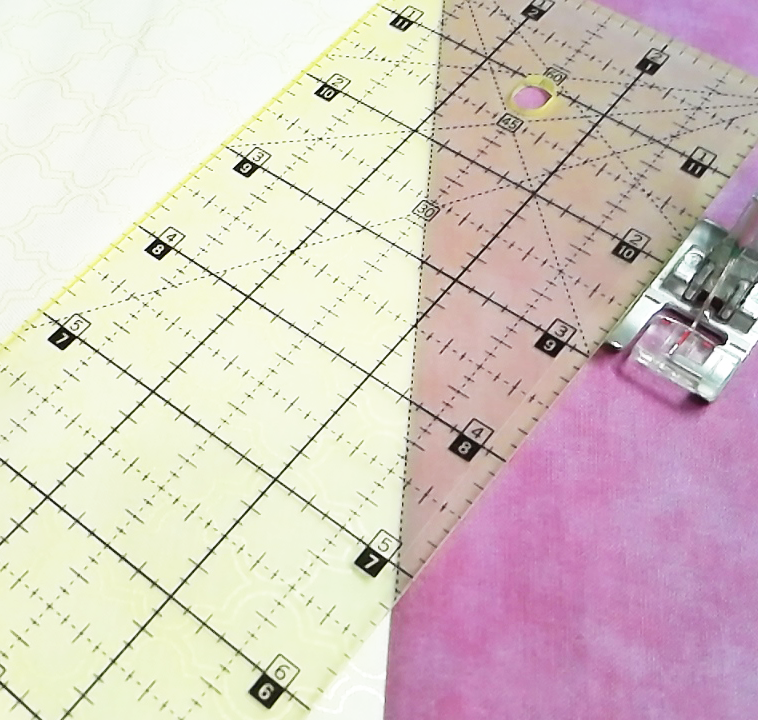
13. Continue as you did before and stitch the remainder of your lines.
14. How cool is that!
That is all I have for you today. Please take the time to peek around the website as there are some amazing designs, tutorials and products for sewing and embroidery projects! And, or those of you who have taken the time to read my blog, here is a 20% off discount code that can be used on your entire order on Blue Bunny Hollow. This is a one-time use code so make sure you get everything you want! CODE: READ (expires October 31st.)
Enjoy your sewing adventures!
Lana, Head Fluffle
Jordyn, Fluffle Administrator, and the one that is the brains of the website
Fluffles (wild bunnies), usually causing trouble
September 2020
Hi Everyone!
PEDesign/Palette Tutorial has been posted, it is called Digitizing Summer. If you have either software, I hope you will take the opportunity to purchase the step-by-step tutorial and continue learning your software. Included is a step by step video for visual learners. This is a great lesson whether you are a beginner or intermediate software user.
I you have not been to the category “On the Hollow” there are lots of free items. Besides designs there are several tutorials. I just posted “How to embroider on a T-Shirt” and “How to do Self Mitered Corners. Both great tutorials to take your sewing and embroidery to the next level. These can be found at https://bluebunnyhollow.com/on-the-hollow
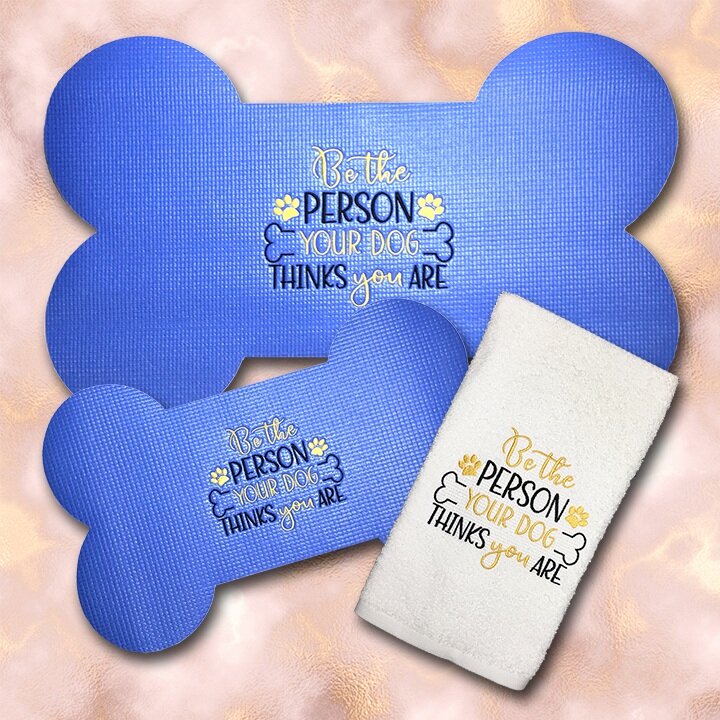
I have also posted some exciting new designs. I have been asked many times to produce a smaller version of my Doggie Dining Mats and to make one for kitties. Well, they are here! I now have 2 sizes of Doggie Dining Mats and 2 style of Kitty Dining Mats. Yeah! To go with these new mats I have also created a new design set, Cat and Dog Sayings. The mats can be purchased at (Note: products have been discontinued temporarily 081725) and the designs can be purchased at https://bluebunnyhollow.com/animals/ So hop on over and take a peek! Examples below. Also check out the step-by-step video on how to embroider on your Doggie or Kitty Dining Mats. You will find the video at the bottom of each mat listings and with the Cat and Dog designs.
NOTE: Any background images on any photo are for display and not part of the file.


Three additional new design sets have been added to the Hollow…
Birdcages, in the Animal category https://bluebunnyhollow.com/animals/ Birdcages includes sweet words to also embroider.


Fall is quickly arriving and that means Halloween will be here before we know it. Several items for this time of year. Halloween Candy which is super cute on the Ready to Embroider Fluffle’s Tote Bag (Note: products have been discontinued temporarily 081725). Fluffle’s Tote Bags are sturdy, made in America and ready to embroider easily on your home embroidery machine because there are no seams, they are flat. All edges are serge finished and handles are securely stitched on. After embroidery you finish the side seams, and add a square bottom if you like, to complete the bag. Super easy!!


Another design set I just listed are for our kids that will be going to school online this fall. “Virtual Back to Schoo” designs are fun to stitch on book bags, book covers, T-shirts, pillows and more. These fun designs can be found at https://bluebunnyhollow.com/school



And for the Mom’s that are now teachers…this is for you! https://bluebunnyhollow.com/school


Tip from the Hollow…
To easily remove Wash-away or Heat-away toppers after embroidery, or excess Mylar after the tack down stitching, use a Seam Fix. The rubber end will easily lift the excess product up and help you remove it. Watch the video below.
That is all I have for you today. Please take the time to peek around the website as there are some amazing designs, tutorials and products for sewing and embroidery projects! And, or those of you who have taken the time to read my blog, here is a 20% off discount code that can be used on your entire or on Blue Bunny Hollow. This is a one time use code so make sure you get everything you want! CODE: READ
Enjoy your sewing adventures!
Lana, Head Fluffle
Jordyn, Fluffle Administrator, and the one that is the brains of the website
Fluffles (wild bunnies), usually causing trouble
August 2020
Happy August!
Summer is quickly coming to a close and fall will be showing its beautiful colors soon. I hope you have been embroidering, sewing and creating amazing projects. Have you learned a new technique, tried a new pattern, sewed a garment or made a quilt this summer? I hope so, as we need to keep expanding our knowledge and keep our minds busy.
Do you have an embroidery business? Are you using a multi-needle machine? In the Tutorials section https://bluebunnyhollow.com/tutorials. I have just posted a video on How to embroider a knit beanie on a multi-needle machine. You can download a free supply list to have when you watch the video. Knit beanies are super popular and you see people wearing them all year around. Great additional income for your business!

If you read my last blog post you would see that I introduced a new technique of embroidering your own borders, sashings and bindings with the same thread in your designs for a great combination. Well, I have another new border in Chicken Soup. This delightful design set has lots of chickens in the “natural” habitat and is surround by chicken wire sashings and borders that you embroider for your quilts, table runners and hot pads.
The chickens do not need a large piece of fabric. So running to the store for a 3”x3” piece of dotted fabric is silly. So why not design your own! Using plain scraps of fabric you probably already have, follow my fun technique to design and create a piece that is perfect for your chickens.
These designs are also fun to embroider on kitchen towels and tote bags.

I love stilettos and can no longer wear them. But, I can embroider them on everything, t-shirts, jackets, bags, etc. These also have a my new technique of embroidering your borders, sashings and bindings for your quilted projects. Stunningly beautiful done in Kingstar Metallic thread! #MA11 used in samples below.

Fall is just around the corner with Halloween kicking off the holiday season. The Fluffles and I have been very busy getting things ready for this fun time of year. We have just listed two new design sets for Fall. Magic Pumpkins and Halloween Wreaths are both delightful design sets to embroider on your festive projects.
Start your Fall embroidery now and be ready when the leaves start to change their colors and float lazily to the ground. A beautiful time of year!

Who doesn’t love fresh summer fruit? Sweet, sassy and luscious Fruits will dress up any kitchen or dining room table with the fun sayings and rich colors. A summer bounty waiting to be stitched onto your projects.
NOTE: Background images are for display only and not part of the design.

Need to lift up someone’s spirit? Embroider this charming butterfly and saying onto a tote bag or t-shirt to always remind them they have inner strength that they can tap into! Your Wings Already Exist is a single design and if you use the code Wings, you can purchase it for $1.00.
NOTE: Background images are for display only and not part of the design.

Today’s Tip from the Hollow…
When doing applique and especially when I am using an electronic cutter, I want to make sure the fusible web is firmly on the back of the fabric. I do not want it to separate during the cutting or embroidery process. My cutting machine of choice is the Brother ScanNCut. I have several others but have found the Brother ScanNCut the easiest and quickest one to use to get my work done. I also use Steam-a-seam II for most of my appliques because of the “sticky” on both sides of the fusible web. When I am ready to place the fabric (with Steam-a-seam II attached) onto my cutting mat I remove the second piece of protective paper and place the sticky side of the Steam-a-Seam II against the stickiness of the cutting mat. For this process I will use a low tack mat or a well-used high tack mat. I would not put this on a new sticky mat. TIP: Reason to not toss out mats that have loss their stickiness. I have many mats at various stages of use. I use them as needed for projects. The sticky mats are perfect for some projects, but I have found I use the lesser sticky mats more often.
To prevent the fabric and Steam-a-Seam II from separating, I use a Fusamat to firmly attach the fusible web to the fabric.
1. Remove one of the protective papers.
2. Place the fusible side of the Steam-a-Seam II to the wrong side of the fabric. Iron to attach as usual.
3. Remove the 2nd protective paper and place the sticky side (side with the Steam-a-Seam II) directly onto the Fusamat. The pretty side of your fabric is up.
4. Iron firmly for 8-10 seconds.
5. Let this cool.
6. Remove the fabric from the Fusamat. You may need a pair of tweezers to lift up the corner.
7. Check the adhesive. The Steam-a-Seam II should look somewhat shiny. If you still see the pattern of the Steam-a-Seam II, re-do Steps 3-6.
8. Place the fabric, sticky side down onto the cutting mat of your electronic cutter.
9. Use a marble rolling pin (yes, the one from your kitchen) to firmly attach the fabric to the mat. NOTE: I have found that the weight of the rolling pin works extremely well to attach items to my mat.
10. Cut out your applique. The fabric will not more, you do not have to remember to reverse image your design and you will get a perfect cut! Success!!
Thank you for stopping by!
Lana, Head Fluffle
Jordyn, Fluffle Administrator, and the one that is the brains of the website
Fluffles (wild bunnies), usually causing trouble
.Enjoy your sewing adventures!

July 2020
Hi Everyone!
I hope you are staying safe, healthy and busy embroidering fabulous projects!
The fluffles (wild bunnies) and I have been busy creating embroidery designs, tutorials and videos to help you create beautiful gifts and items for your family and home.
If you love the great outdoors recent additions to the Blue Bunny Hollow family of designs are the embroidery design collections called “Camping” and “Beach” which can be purchased at https://bluebunnyhollow.com/nature-seasons These fun embroidery designs will liven up towels, bags, t-shirts and more.
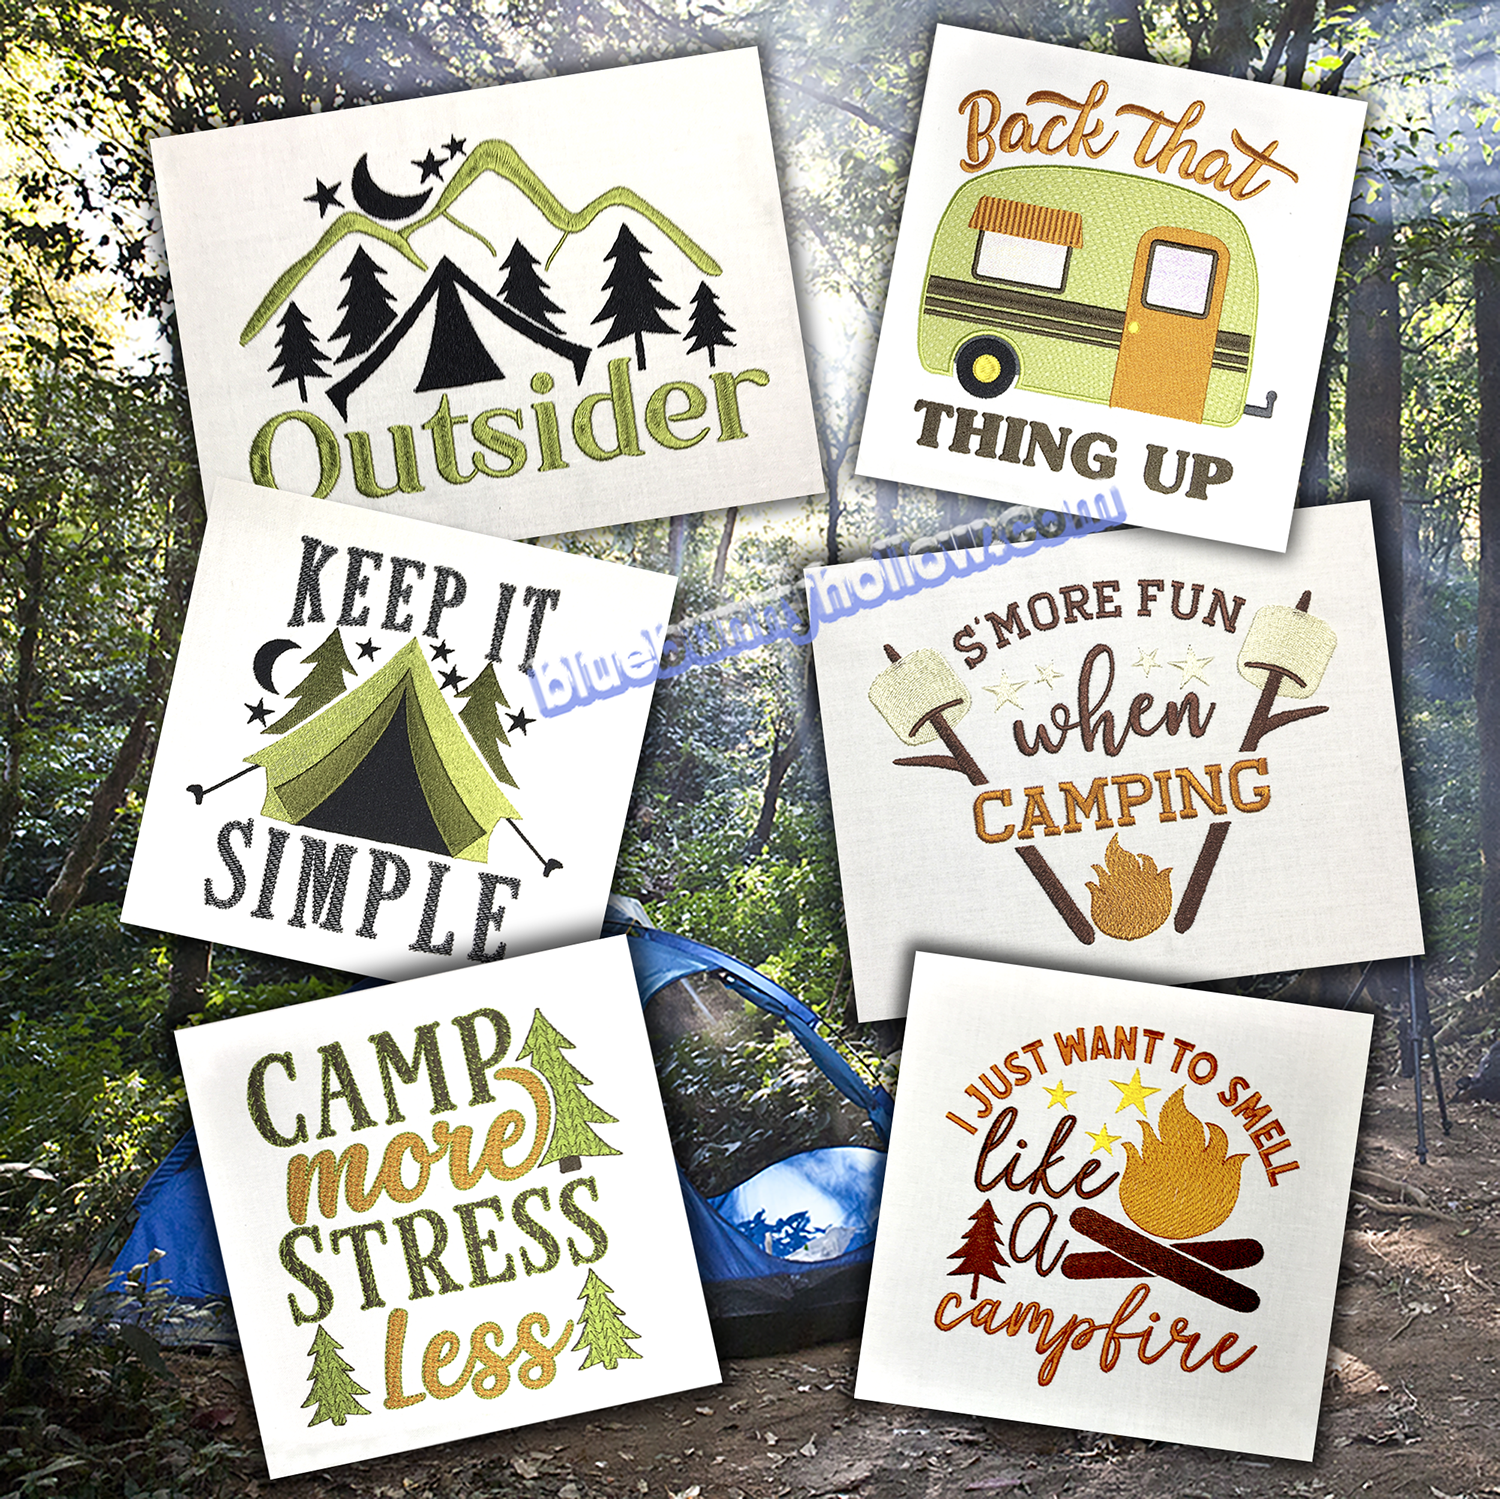
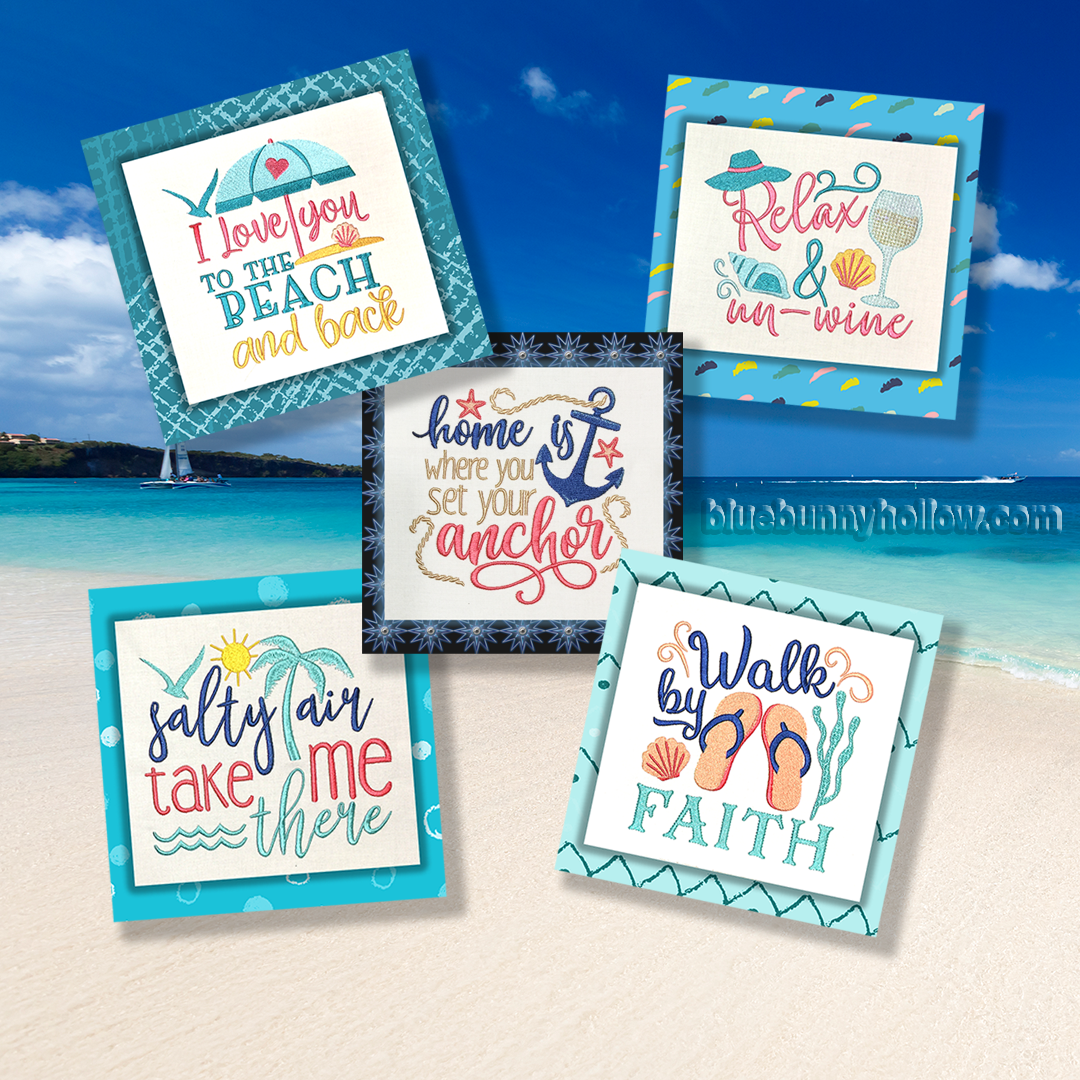
(NOTE: Background images are for display and not part of the embroidery file.)
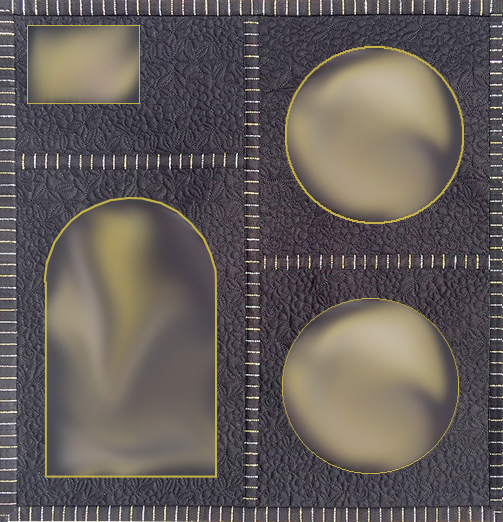
NEW!! Check out the new technique of embroidering your sashings, borders and bindings with the same thread you are using in your embroidery designs. This gives you an amazing look to your projects. This set of designs fill the hoop so you will be able to cut and sew them together for the size you need, ie. 2 ½” for binding, 1 ½” for sashing, 3” for borders, etc. Or maybe you want to cut them up in squares, rectangles or circles as accent pieces…you have the ability to totally accentuate your projects in the style that you want! These can be purchased at https://bluebunnyhollow.com/bindings-borders-sashings. The samples in the pictures of quilted projects below were done for a presentation, for the company I work for, Quality Sewing and Vacuum. When we do these presentations, we use lots of fun new notions, books, patterns and designs. I am not able to always use my designs as we try to give you a wide and varied selection of merchandise. Since the designs cannot be purchased on this website, I have blurred them out to only show the borders, bindings and sashings.
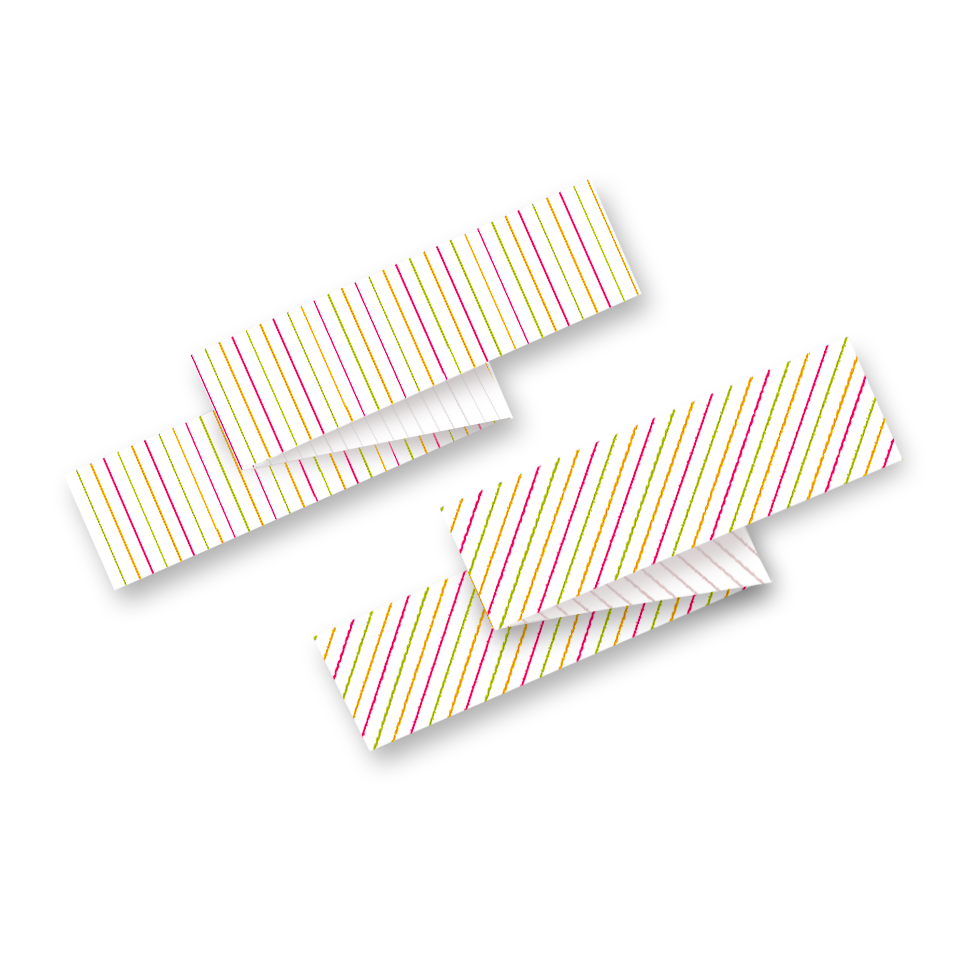
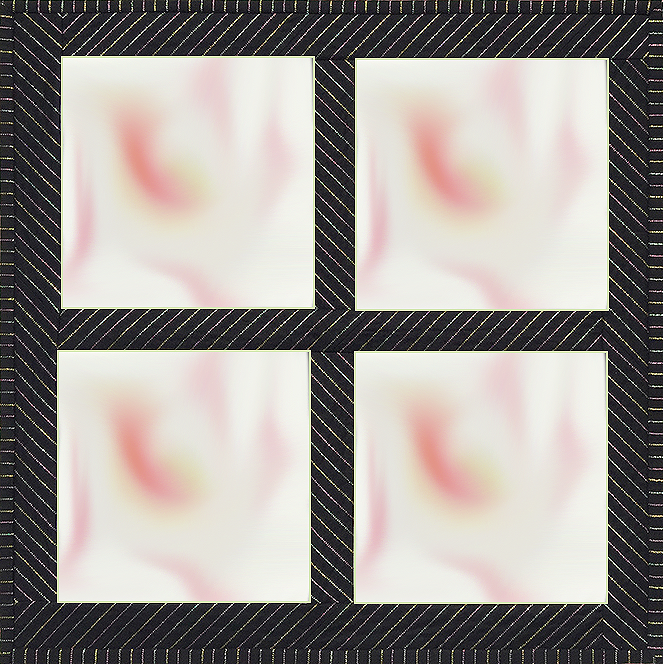
There will be more designs for borders, bindings and sashings coming soon.
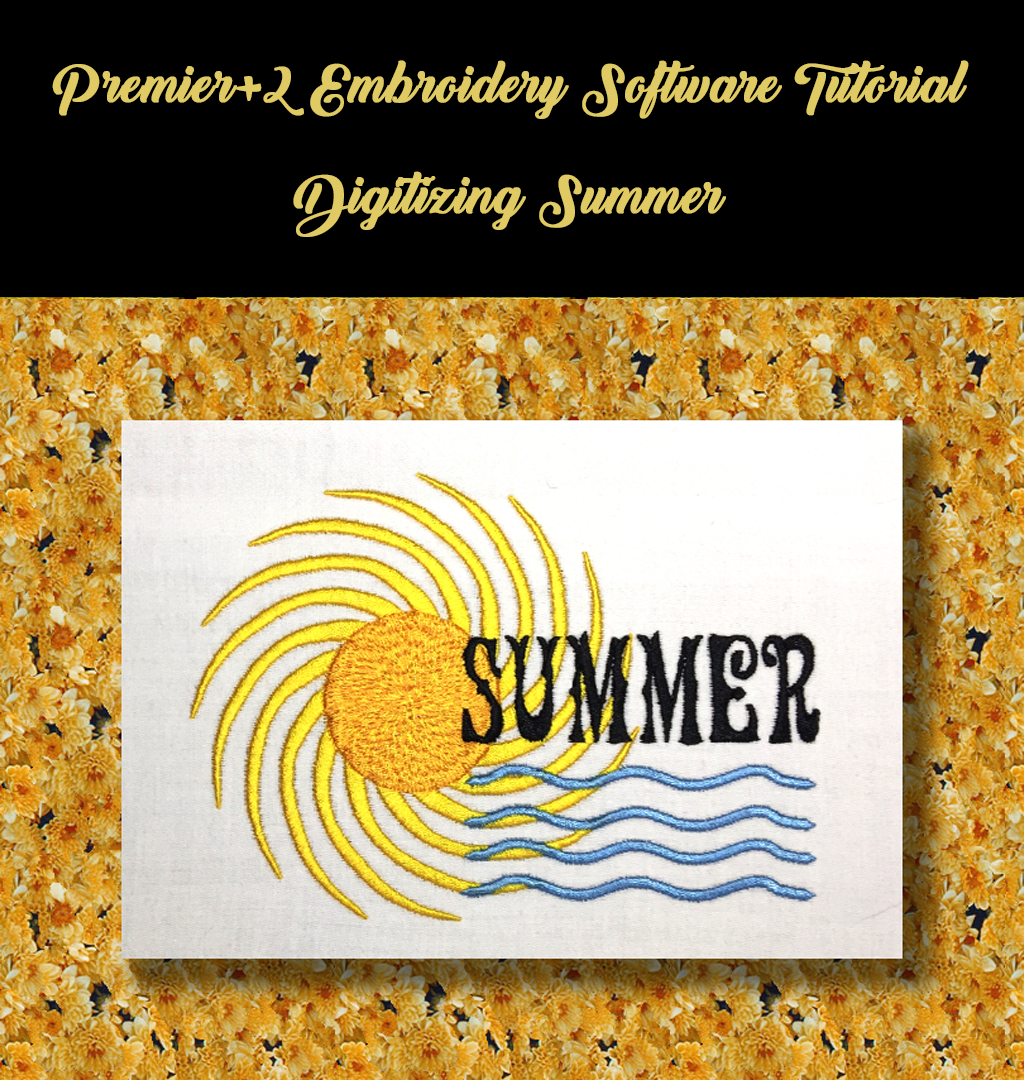
In the “Tutorials” section I have added Premier +2, step by step written instructions with step by step video. This tutorial is full of information, tips and techniques to help you learn and be skillful with the Premier+ 2 software. Beginner, Intermediate or Advanced, you will gain new knowledge to further your software adventures. PEDesign and Embellish Maker software tutorials will be ready soon. The instructions, “Digitizing Summer Tutorial” can be purchased at https://bluebunnyhollow.com/tutorials. Floriani Total Control U is also available.
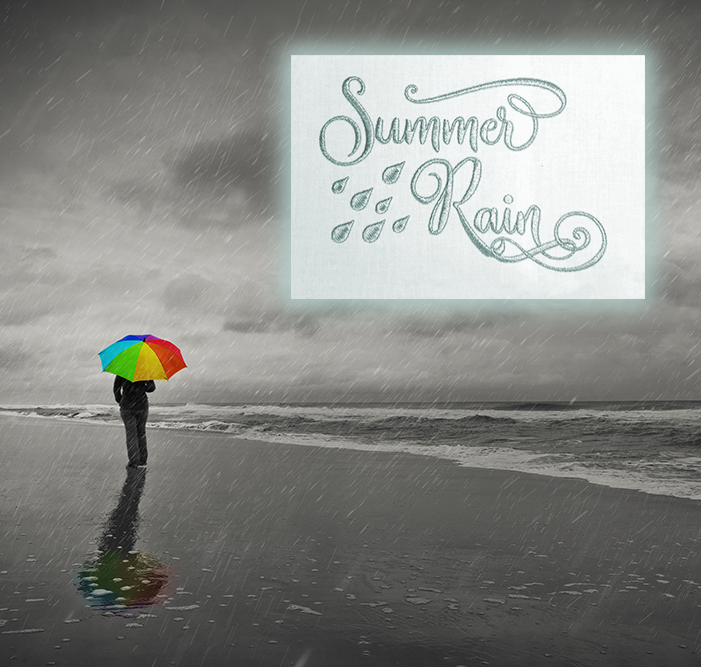
New individual designs just released today are Summer Rain and Summer Word Art. For blog readers and email subscribers only…If you purchased Summer Word Art by the end of July, I will send you Summer Rain at no charge. You need do nothing as this will be sent (within 24 hours) to the email used from your order of Summer Word Art.
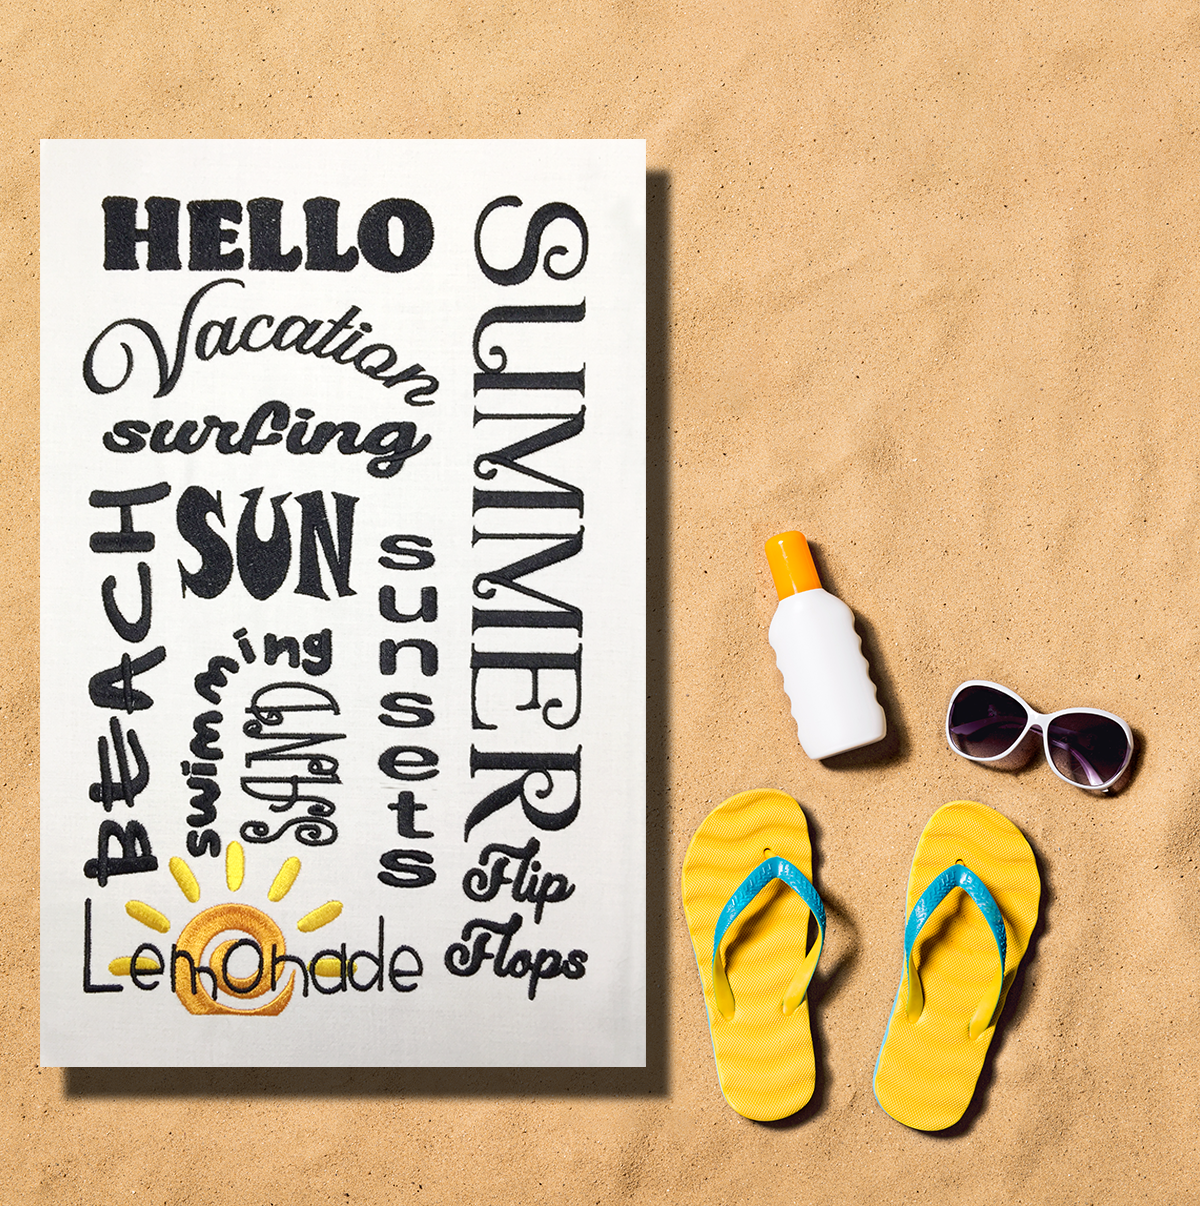
(NOTE: Background images are for display and not part of the embroidery file.)
Tips from the Hollow…
Stabilizer is necessary for our embroideries. But, wasted stabilizer is costly. Here are a couple of tips that I use to extend the use of my stabilizer.
Unless you absolutely have to, do not cut the stabilizer from the roll. After hooping, just unroll the stabilizer a bit and set it to the side of the machine or on the floor below the machine. Make sure you have unrolled enough so the hoop can move without restrictions. Then, when you un-hoop, cut the stabilizer next to the design, as you would normally. Depending on the hoop and design size, this could be a savings of 3” or more of stabilizer. I have discovered, that by the time I have stitched 3-4 more designs, I have saved enough stabilizer for another entire hooping.
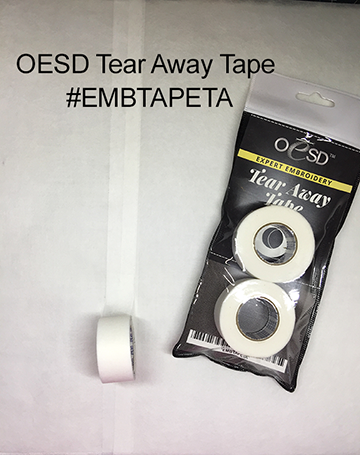
I do a lot of sample stitching and purchase a commercial size roll of tear away stabilizer that is 24” x 100 yards. I cut my sample fabric 12” by 60” (Width of Fabric - WOF). Since, I have to cut my stabilizer to fit this and I do not want to waste it, the stabilizer is cut 12” (Width of cut sample fabric) x 24” (Width of stabilizer roll). When I have a piece of stabilizer left, but it is not large enough for the hoop I am using, I simply tape on more. The tape I use for this is from OESD and is called Tear Away Tape (#EMBTAPETA). And, it does not gum up your needle. I do this with both tear-away and no show mesh stabilizers.
Process:
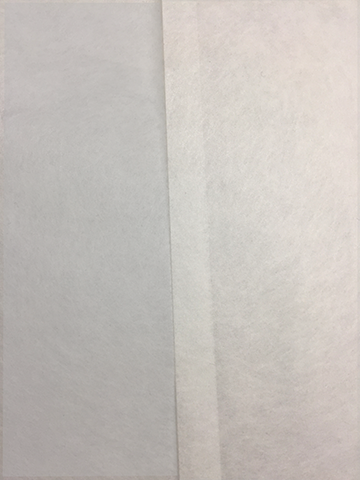
1. Overlap new stabilizer by about ⅜” to the straight cut end of the stabilizer.
2. Place the OESD Tear Away tape over the entire length of the seam. #OESD
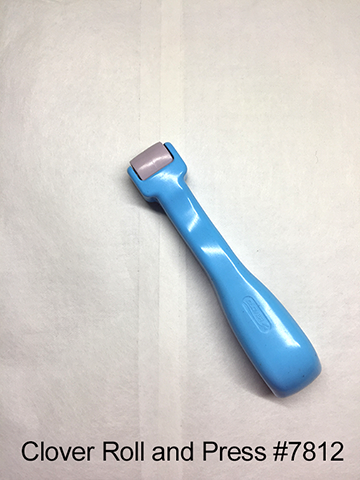
3. Using a Clover Roll and Press (#7812), or something similar, and roll over the tape to press it firmly to adhere it to the stabilizer. #clover-mfg
4. Place the fabric’s wrong side to the un-taped side of the stabilizer and then hoop. The taped side will be on the back side of the hooping and be against the throat plate when the hoop is placed in the machine. Then, do your next embroidery with no fear of the seam or tape catching on any part of your machine.
Enjoy your sewing adventures!
Lana, Head Fluffle
Jordyn, Fluffle Administrator, and the one that is the brains of the website
Fluffles (wild bunnies), usually causing trouble
April 2020
Hi Everyone, so glad you stopped by!
I have not posted much while we are all trying to figure out how we will handle the situations we have been thrust into. There have been a lot of changes in the world and I hope and pray you are safe and healthy.
Hopefully things have settled down for you and you are ready to get busy. Sewing, embroidering, crafting, painting, cooking, wood working, etc., are all ways to keep us busy and our minds occupied creating beautiful things and eating good ole home cooking.
I have recently posted new free designs, maybe you have seen the Police and Fire designs, these will be free forever to honor these amazing men and women who serve tirelessly. I have added a free Nurse design to also honor the hard work of our healthcare providers. Please take the time to download these and stitch them out. All of these can be found at https://bluebunnyhollow.com/on-the-hollow.

While you are here, I have a great design pack with additional designs for nurses https://bluebunnyhollow.com/featured/nursing. These are fabulous to embroider for that special nurse you know.

NOTE: Background images on all designs are for display only and not in the file.
To add a bit of humor to our situation I have 2 designs just for the times...Got Toilet Paper and I was Social Distancing before it was Cool, will add smiles to everyone’s face.

A recent addition of Vines and Crosses are great for Easter, a bible cover or bag. These are beautiful applique designs that can be done with fabric, glitter vinyl, cork and more. Instructions on how to use glitter vinyl in an applique are included in the file. These are at https://bluebunnyhollow.com/featured/vines-and-crosses. You can also find a free tutorial on how to use glitter vinyl at https://bluebunnyhollow.com/tutorials.

Tip from the Hollow:
I recently did several videos for Quality Sewing. My tip(s) this month is the information I provide in these videos.
How to use a blind hem to tack down your quilt binding, https://www.youtube.com/watch?v=4-u3Qt0xsBQ
How to use the Meander Ruler and Ruler Foot for stipple quilting https://www.youtube.com/watch?v=Zi07mPm0wwI&t=7s
How to use a Chenille Cutter for cutting away stabilizers like tear away, no show mesh, etc. https://www.youtube.com/watch?v=4-u3Qt0xsBQ
Thank your for taking the time out of your day to spend a few minutes with me, and again, stay safe and stay healthy!
Enjoy you sewing adventures!

Lana, Head Fluffle
Jordyn, Fluffle Administrator, and the one that is the brains of the website
Fluffles (wild bunnies), usually causing trouble
Happy New Year Everyone!

Background images for display only and not part of the file.
I hope the new year brings you all that you want and more…and lots of embroidery stuff too! The fluffles (wild bunnies) have decided to put my newest collection, Retro Style Cocktails, on special, even more than I did. I put it on sale for $3.99, but if you purchase it on January 1st or 2nd, it will be just $1.25. Use the discount code of 2020 when you checkout. You can thank the fluffles!
With this design pack being Mylar, here are a few tips on its use.
1. What color of Mylar is the best? For most designs, opal is the choice. However, experiment. I have used colored Mylar with very cool results. NOTE: The Retro Style Cocktail set needs opal colored Mylar for the stitching of the drink to show through. Also, monofilament thread is used which helps to make it look like glass.
2. When opening the package of Mylar, separate the pieces. You only need one layer of Mylar and most packages come with 3-5 sheets.
3. After you embroider the placement line, lay the Mylar over the stitching to completely cover all the stitches.
4. Stitch the tack down line, then the overlay stitches. NOTE: Mylar needs to be used with design digitized for Mylar. A standard fill design will not let the Mylar show through.
5. Tearaway excess Mylar on the outside of the stitching after the overlay stitches have completed.
6. Mylar is polyester and can be laundered. Launder your project in cool water and hang to dry.
7. Also, saves the scraps. I have placed several small pieces over an area when I have not had a large enough piece. Once the design has finished, you cannot tell that scraps were used.
Lana, Head Fluffle
Jordyn, Fluffle Administrator, and the one that is the brains of the website.
Fluffles, usually causing trouble
Merry Christmas...from the Hollow!!!
Good Cheer Everyone!
Thank you for stopping by bluebunnyhollow.com. With so many places to purchase good embroidery designs, the fluffles (wild bunnies) and I appreciate your time and your business.
For my email subscribers, Facebook group and blog readers only, the fluffles are having a private holiday special. Spend $2 (or more 😊) and receive the Christmas Mice Set at no charge. Place the set in your cart with your purchase, use the code MICE when you check out and the amount for the mice set will be deducted from your total. You will find the Christmas Mice in both the Holiday and Animal categories. This offer is good until December 31, 2019. The code can be used once per customer.
Also, post a picture on https://www.facebook.com/BlueBunnyHollow of your project using one of Blue Bunny Hollow’s designs, we would love to see how you are using our designs.
We have added many new designs and are adding more each week. So, stop by often and see what is happening. The fluffles and I are looking forward to having you visit again.
Wishing your and your family a beautiful and happy holiday season in your form of celebration. We celebrate Christmas…so Merry Christmas and Happy New Year!
Lana, Head Fluffle
Jordyn, Fluffle Administrator, and the one that is the brains of the website.
Fluffles, Usually causing trouble
From the Hollow:
During the holidays we like to use metallic thread for a sparkly, festive appearance. However, some of us struggle with this thread and get so frustrated we give up and use our regular embroidery thread.
My tip for you is an easy fix…just buy Kingstar Metallic thread. In 25 years of embroidering, this is the best metallic I have ever used. There are many good metallic threads out there, and I have probably used most of them with great success. But, if you want a thread that requires nothing more than just putting on your thread stand, then embroider…this is the thread!
Some recent postings. NOTE: Background images are for display and not included in the file.


New section for those of your with 4x4 hoops!
I have just added a new section for those of you who have those wonderful machines that only do a 4”x4” design. This is the size of my granddaughters’ machine so I have made her some designs so she can embroider her own things. I thought that many of you may have trouble finding designs that fit your 4”x4” machine. So, I created the category “Under Rylo’s Umbrella” which will have all the designs that can do 4”x 4” embroidery. This will make it easier for you to find the designs that will fit your hoop. If the file has larger sizes, they are still in there. I did not take them out as you may get another machine someday that can use the larger designs and you will not have to purchase the design again.
I will be adding more to this category so check back often. Below is a preview of what’s coming.
Enjoy your sewing adventures!
Lana
Fluffles Administrator

Best Friends
A collection of an adorable little girl and her kitty.

Hearts and Bugs
A collection of whimsical hearts and cute little bugs.
Where has January gone...
This month has flown by, is it already the 20th? I have been very busy digitizing and testing new designs and ideas. Can’t wait for you to see them.
Since you stopped by, let me tell you about the new special. Clothesline Weather Set of 6, is on Sale for $3.00. If you want to buy an individual one it is on sale for $1.00…What a great deal!
In the coming months, I will be posting more tutorials, videos and a bunch more designs, stop by often for what’s new!
I have embroidery software classes to teach tomorrow so I must get the tutorials printed. Have a great day!!
Lana
Fluffles Administrator
Last minute Christmas designs
Where has December gone? I hope you are ready. I just finished my last gift, now to get them wrapped.
So, for those of you that are still in the throws of getting your Christmas embroideries finished I have a 2018 Christmas Special for you! Purchase my new Mylar Whimsy Christmas Tree for $1.99 and get Candy Cane Holiday Set for FREE! A $9.95 value if purchased individually...WOW! This is in the SALE Category only here at bluebunnyhollow.com. Get yours now as it will only be on special through Christmas Day! Merry Christmas!
I hope you have a fabulous Christmas and a very prosperous and joyful New Year. Enjoy your family and friends, hug them all and we will see you in 2019!

Merry Christmas and Happy New Year!
Merry Christmas
I hope all of you had a chance to download all the free Holly Alphabet and Numbers sets and are making some awesome holiday gifts and decorations.
If you send me picture of what you made with my BBH embroidery designs to lanaleej@gmail.com, I will send you a coupon code for 50% off your next design order. This would be good until the end of 2019, so if you do not see anything right away, hold onto the code and keep checking back until you find something you like. If you did not get all the letters and numbers, they are available and only $1.00 each.
I will be doing another free alphabet set after the first of the year, so look for that. I will send out an email, post it on my Facebook page, and here to let you know.
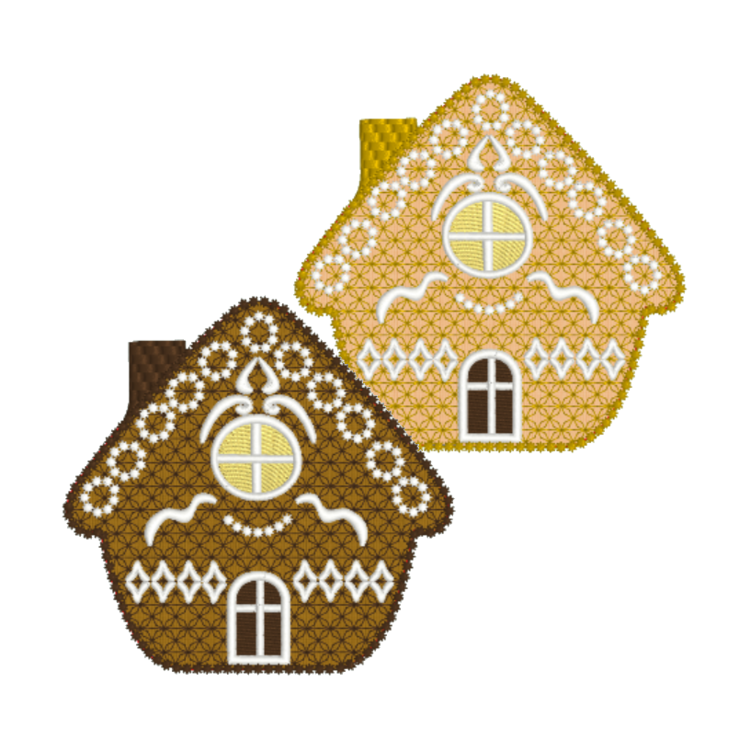
New designs have been posted to the website, “Gingerbread Cottages” and delightful applique design (set of 6) that is on SALE right now for 50% off, “Let it Snow” and Santa Claus are only $1.50 each. Santa Claus has a Mylar background for the fun, festive look!
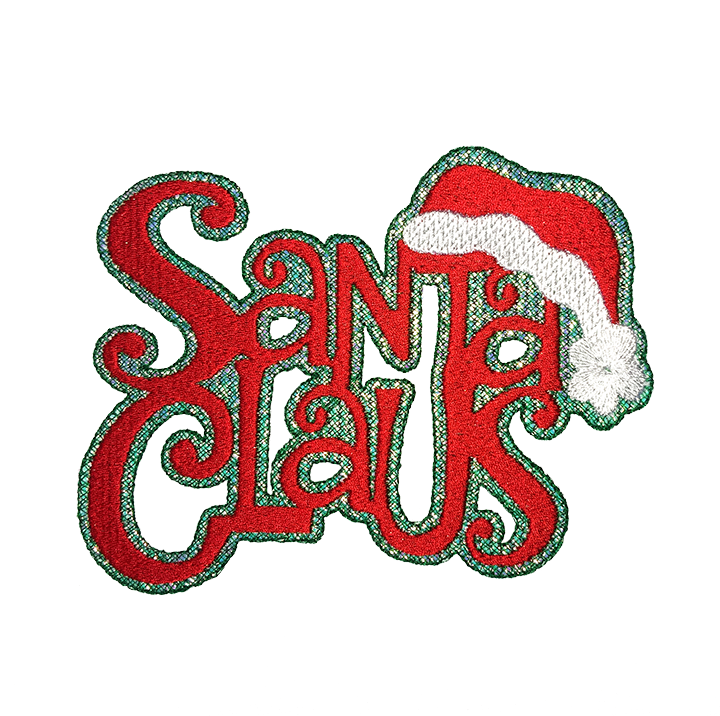
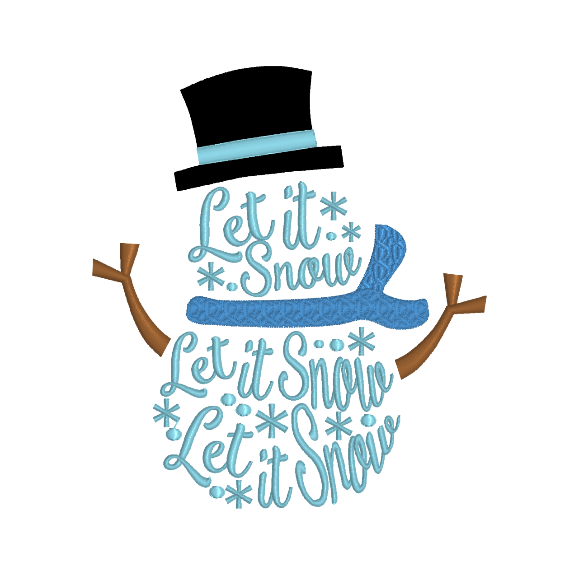
Have a look around the Hollow. The fluffles (wild bunnies), fluffles administrator and fluffles assistant enjoy having your company.
From all of us at Blue Bunny Hollow have a very Merry Christmas and Happy New Year!!
Lana
Fluffles Administrator
Holly alphabet and numbers
I am so excited to get this holiday season rolling. I have just posted some new Christmas designs and more are in the works. But, the best thing is the FREE stuff!
Starting on November 23rd and ending on December 15th, you will be able to download letters and numbers from Holly Alphabet and Holly Numbers set. Each day I will post 2 designs, either numbers or letters, your gift just for stopping by bluebunnyhollow.com. Each pair of letters and numbers will be available for 3 days so you have plenty of time to download the free gifts.
That’s is a great deal…26 letters and 10 numbers for FREE!! They will be in the FREE section labeled “On the Hollow”.
November 23-25 will be A and B, November 24-26 will be C and D, November 25-27 will be E and F…etc.
Thank you for joining me today! Browse around the hollow for some cool designs and products.
Enjoy your sewing adventures!!
Lana
Fluffles Administrator
Merry Christmas!
Christmas at the Hollow!
Yes, you read that right…I have added Christmas designs! There are some of you out there that like to get started early…real early. As I have been doing Sew Fun presentations, many people are already showing the Christmas presents they have made during Show and Tell. Wow, that’s organized!
Speaking of Sew Fun, if you live in the Seattle area check out Quality Sewing’s Sew Fun program. I am one of the educators this month and we are having a lot of fun. You can get the schedule at qualitysewing.com. Come and join us, have some cookies and coffee and let us entertain, teach and show you some very cool samples.
Also, hop on over to the Blue Bunny Hollow Facebook page and click LIKE, to like the page and like or love everything posted...just saying! It helps as Facebook keeps changing things.
One last thing…If you use any of the designs from this website, please send me a photo so I can start a gallery of your cool stuff.
Thanks for stopping by the Hollow!
Enjoy your sewing adventures!
Lana
Fluffles Administrator
New Products and Categories
I have been working diligently on getting my hands-on classes ready for September. Digitizing designs, embroidering, sewing, quilting, cutting kits, and writing tutorials. Speaking of tutorials, have you seen that I have my September software class tutorials in the shop. The download includes a pdf tutorial that you can print out with icons, illustrations and pictures to help guide you through Floriani Total Control U and Premier+ software. Plus, a video to help you every step of the way. PEDesign 10 will be up soon. I also hope to have other software tutorials posted at a later date. These are for personal use only, not to be used in a private or public class.
This is mainly an embroidery website, however, most of us do more than embroider…like quilting. If you love ruler work like I do then you probably have lots of templates for quilting. If you have problems with them slipping while you are quilting, then try my new product, Template Stay. Click on the video on the description page to see how it works.
I have also started a new “On the Hollow” category where I will post items for $0.00… that’s correct…FREE! Right now, there is just 1 design, but I will add additional designs and include tutorials, videos and more.
So, take your time and browse around the hollow for some cool designs and products.
Thank you for joining me today!
Enjoy your sewing adventures!!
Lana
Fluffles Administrator
WOW! Does Time Fly when you are embroidering and doing creative stuff!!!
I did not realize how long it has been since my first blog post. With that said, I am getting new designs posted this month and working on some products, tutorials and of course, more designs.
Over the past few weeks, I have been teaching many classes on embroidery, embroidery software, Westalee Ruler Work and 2-4 day events for learning your Brother Dream and Babylock Destiny sewing/embroidery machines. Super excited about the New Brother Luminaire XP and Babylock Solaris arriving at the stores this month. Can’t wait to take a look at one and give it a test drive. Speaking of test drives, I just finished a 2 ½ week lecture/demo series in July and did a lot of test driving while I was doing my demos on a Pfaff Performance Icon…what a dream to sew on. Can’t a girl want several of the top machines?? Of course…why not! 😊
I am also just finishing a new embroidery design set. I will post it in September. This one is amazing as you decide how you want your design to look. Do you want a standard embroidery or HTV (Heat Transfer Vinyl) for the fill areas? Maybe the artist in you wants to color the designs with crayons, colored pencils or inks. This pack will be jammed full of instructions to show my how to’s on IMC (Intense Melted Crayon) Fabric Coloring, LCP (Luxurious Colored Pencil) Fabric Coloring, or VIC (Vibrant Ink Coloring) Fabric Coloring. But why choose…try them all!
Thank you for joining me today!
Enjoy your sewing adventures!!
Lana
Fluffles Administrator
A Blog for my FLUFFLES!
FACT: A GROUP OF WILD BUNNIES IS CALLED A FLUFFLE
Welcome to Blue Bunny Hollow! Hi, my name is Lana L Jones, thank you for visiting this new embroidery design shop.
During the past 20+++ years I have cultivated my sewing and embroidery craft starting at 7 years old when my mom showed me how to use her Singer Featherweight, which I still have today. I discovered my passion for education 25 years ago when sewing became my full time career. I teach classes, do events, lecture/demos, write books and create video tutorials for sewing, embroidery and embroidery software. My latest endeavor has brought about this new embroidery design shop.
The launch of this site comes after years of corporate work, my two children who became respectable adult humans, then two grand dogs and a few years later two grandchildren! All the while, I was honing my craft, perfecting my teaching style and embroidery digitizing abilities. I am super excited to launch this website to share with my clients, customers, friends, family and the world!
My daughter set up my new website...YAY!!! With the new website we are also launching the Doggie Dining Mat and Doggies Rule Design Pack in the shop. Individual designs are for sale as well, if you prefer not to buy the whole pack. We also plan to have many more design products, blanks, tutorials, and instructional videos in the coming months!
The next product I would like to share with you is my newest embroidery design set named Crystal Lemonade. This design set features mylar (see glass of lemonade below) to create the look of crystal!

It sparkles and looks great on kitchen towels. But, on the table runner I used organza instead of mylar for a very different look. Lovely and coming very soon!

Thank you for joining me and reading my first blog post.
Enjoy your sewing adventures!
Lana
Fluffles Administrator